How to Navigate through Scheduler Views?
Follow the workflow mentioned above to navigate to the Scheduler Module.
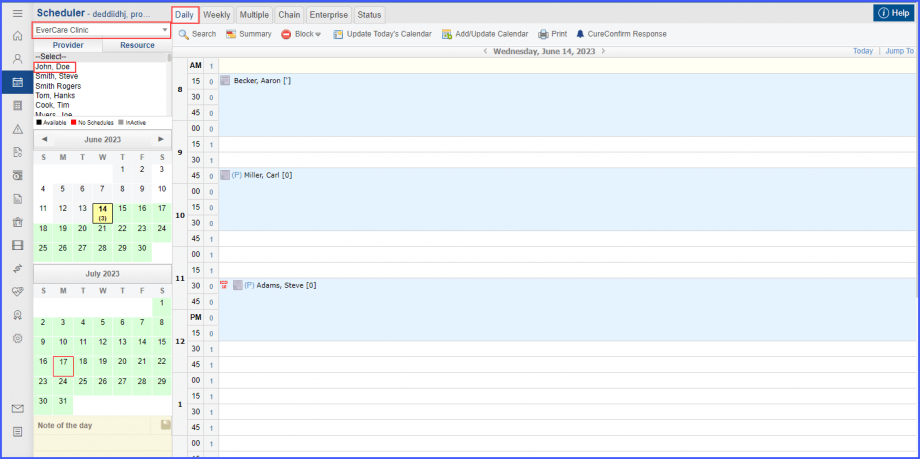
To access different views under the Scheduler Module, click on the Daily, Weekly, Multiple, or Enterprise buttons present at the top of the screen.
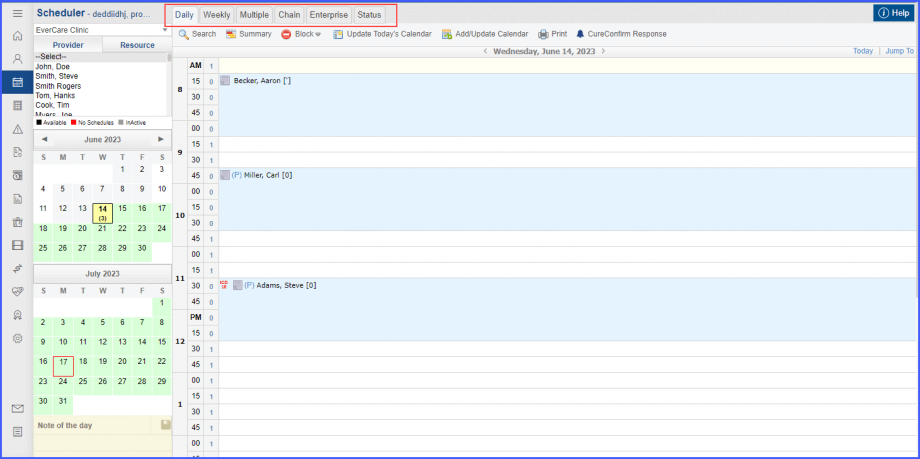
Clicking on the buttons display the respective view containing appointment details for the selected Location and Provider.
To select a location, click on the ‘Location’ dropdown under the ‘Scheduler’ heading. The respective provider or resource list then appears below the location dropdown.
The Enterprise View option does not appear in the application by default. To access the ‘Enterprise’ view, users have to first enable its settings from the Settings module. Click here to view how to enable Enterprise view.
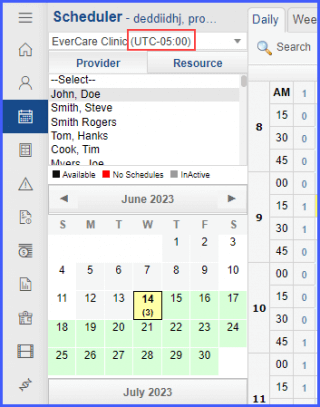
An enhancement is made in all scheduler views that allows users to view time zone of each location displayed right next to it.![]()
To view the time zone information next to the location, users have to first enable its settings from the ‘Settings’ module. Click here to view how to enable the settings to display time zone in scheduler.
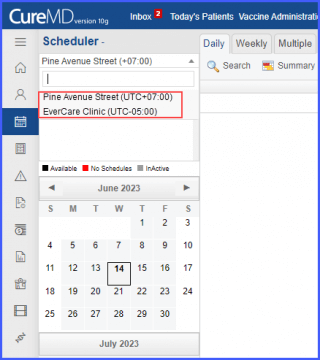
This enhancement is visible in Daily, Weekly, Multiple, and Enterprise scheduler views. This ensures that when users are viewing their schedules in different locations, they can see the time zone to avoid confusion.
When the user clicks on the ‘Location’ dropdown in any view, the time zone appears next to each location in the list.
Furthermore, once a location is selected and that location appears in the dropdown field as a selected entity, the time zone appears next to that location name.