How to Specify Location NPIs?
A dropdown with options to control population of Location NPI on EDI Claims is displayed in Plan Settings.
This ensures complete information is sent so EDI claims do not get rejected.
Select a plan from the ‘Plans’ screen to access the ‘Edit’ tab. Then, navigate to the ‘Miscellaneous’ section.
The user can select one of three options from the ‘Location’ dropdown:
- Situational
- Not Allowed
- Required
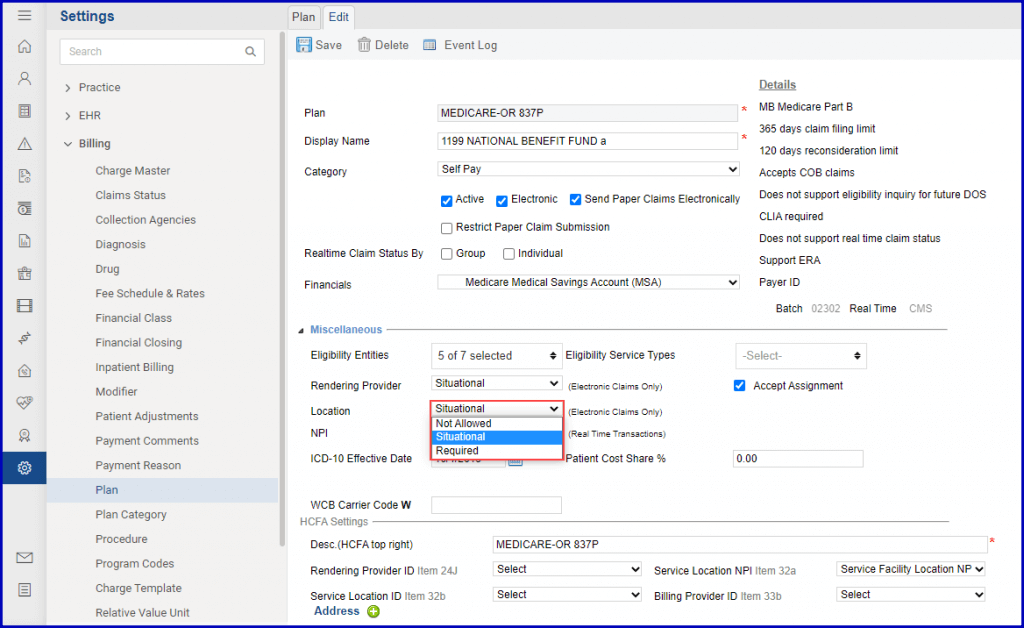
The ‘Situational’ option is selected by default.
If Location NPI matches with Rendering Provider NPI and the Billing Provider NPI, it does not get populated in the claim.
However, if the three NPIs are different, the claim file is populated with the Location NPI.
If the insurance plan does not require Location NPI to be specified in the claim, click on the ‘Not Allowed’ option in the ‘Location’ dropdown.

When the ‘Not Allowed’ option is selected, the Location NPI does not populate the EDI Claim even if the Billing Provider NPI, Rendering Provider NPI and Location NPI are different.
If the insurance plan requires Location NPIs to be specified, click on the ‘Required’ option from the ‘Location’ dropdown.
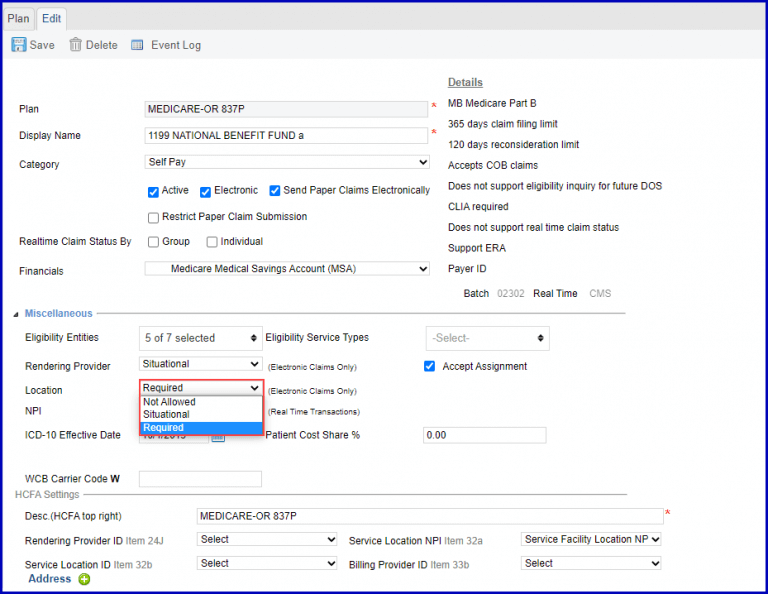
When the ‘Required’ option is selected, the EDI claim is populated with Location NPIs even if it is the same as the Rendering Provider NPI or the Billing Provider NPI.
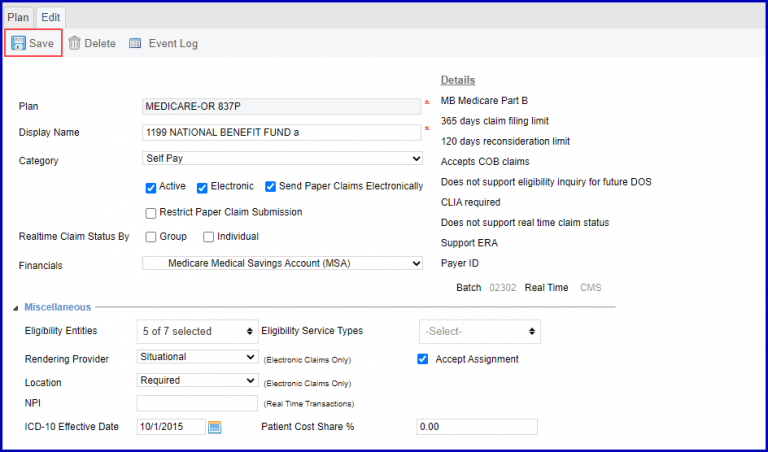
Once the required settings are done, click the ‘Save’ button.
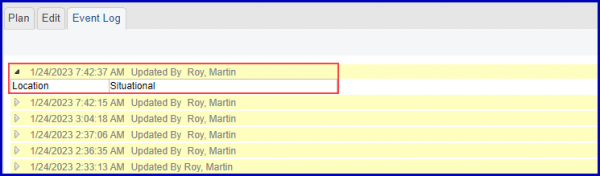
Click on the ‘Event Log’ tab to view the logs maintained for the changes in the ‘Location’ dropdown. These logs appear in collapsed form.

Click on the grey carat icon to expand the log and view the action made by the user.