How to Access the Global Pay Setup Page?
A one-time use configuration page has been created for Global Pay settings.
This allows Global Pay representatives to access the settings page and configure a practice with Global Pay services.
Follow the workflow mentioned above to land on the ‘Device Integration’ screen.
If ‘Global Pay’ is selected as the online payment gateway, the system displays the ‘GlobalPay Configuration’ button under the ‘Gateway’ dropdown.
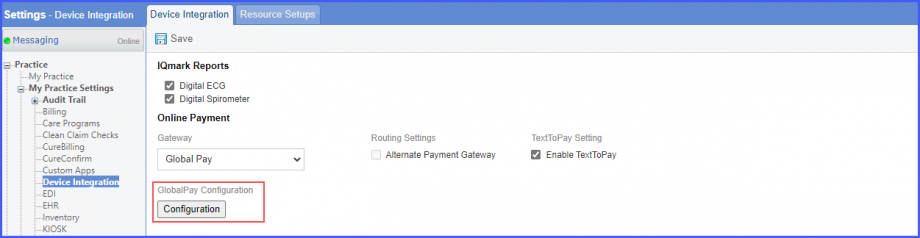
If GlobalPay option is not selected, click on the ‘Gateway’ dropdown, and select GlobalPay option from the list. Then, click ‘Save’.
Next, click on the ‘Configuration’ button to navigate to ‘Global Pay Setup’ page.
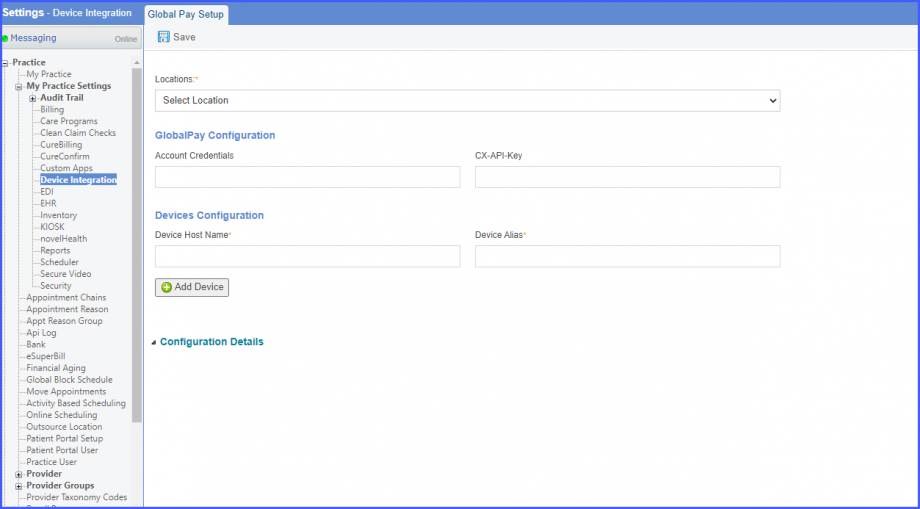
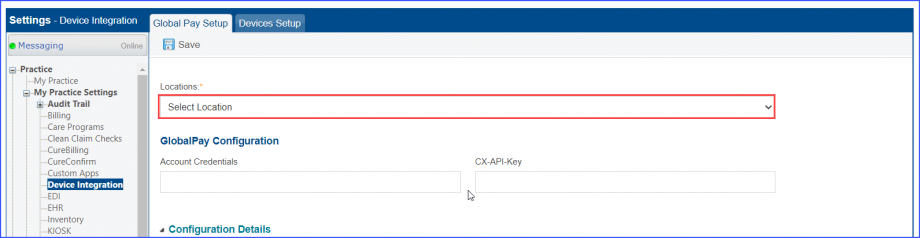
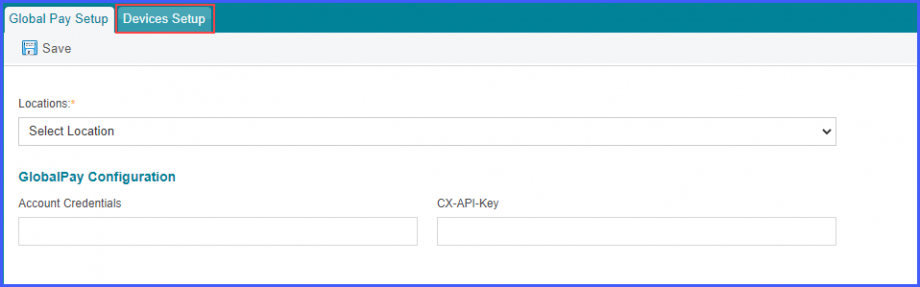
Here, the system displays ‘Locations’ dropdown containing all the locations of a practice that are not yet configured with Global Pay. Along with that, information fields for ‘GlobalPay Configuration’ and ‘Devices Configuration’ are also present.
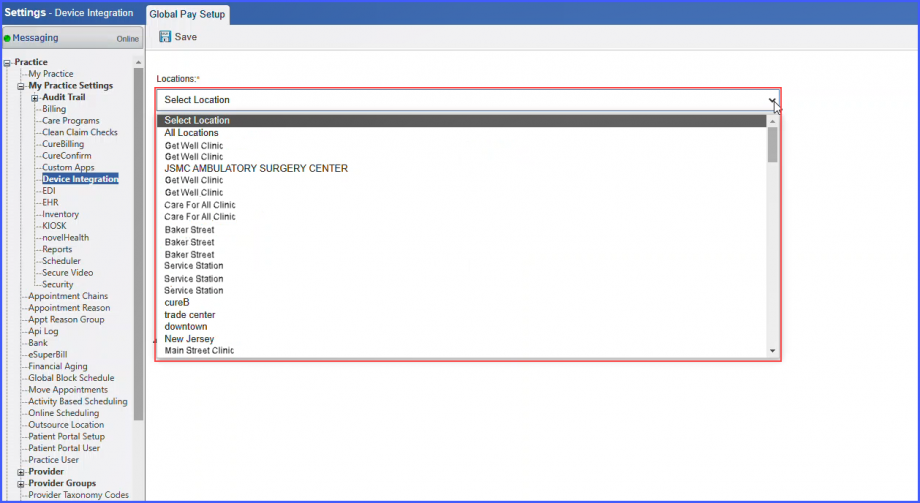
From locations dropdown, the user can either select a single location or choose the ‘All Locations’ option.
After selecting a location, add information in the ‘Account Credentials’ and ‘CX-API-KEY’ fields, and click ‘Save’. The system displays a confirmation popup stating:
‘You are about to change the GlobalPay Configuration. Do you want to continue?’
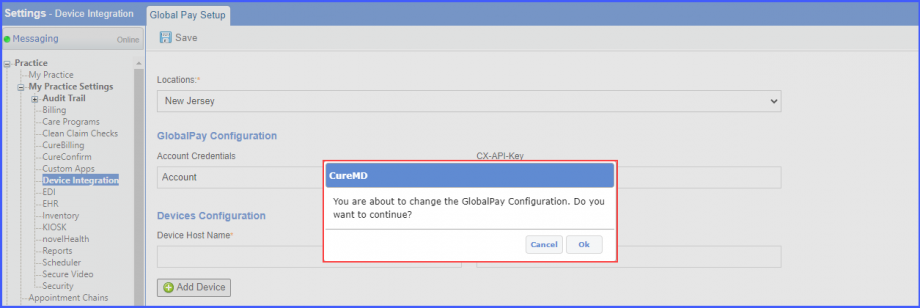
Upon receiving an affirmative response, the system removes the selected location from the ‘locations’ dropdown and adds it in the ‘Configuration Details’ section.
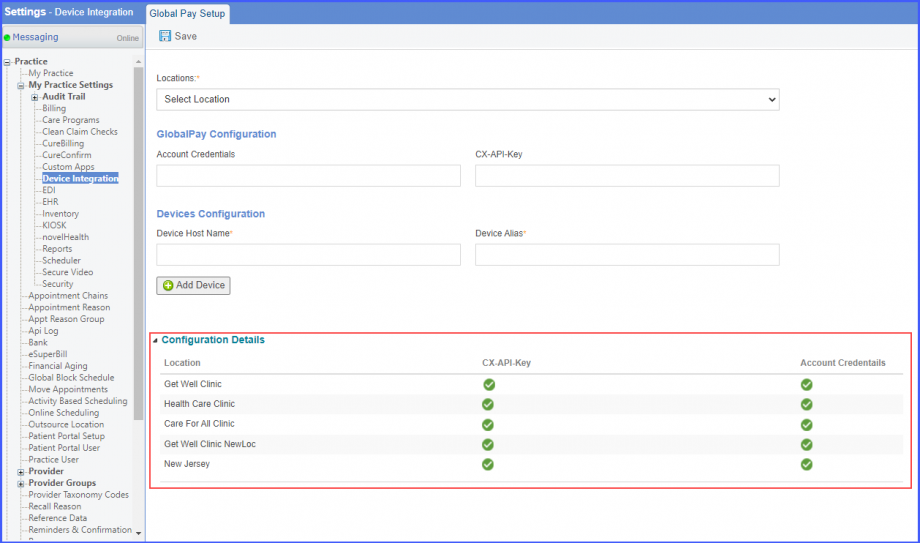
If the user has selected the ‘All Locations’ option, the system configures all the locations present in the dropdown list when the user clicks on ‘Save’.
Similarly, to configure a device with a practice, add required information in the ‘Device Host Name’ and ‘Device Alias’ fields, and click on ‘Add Device’ button.
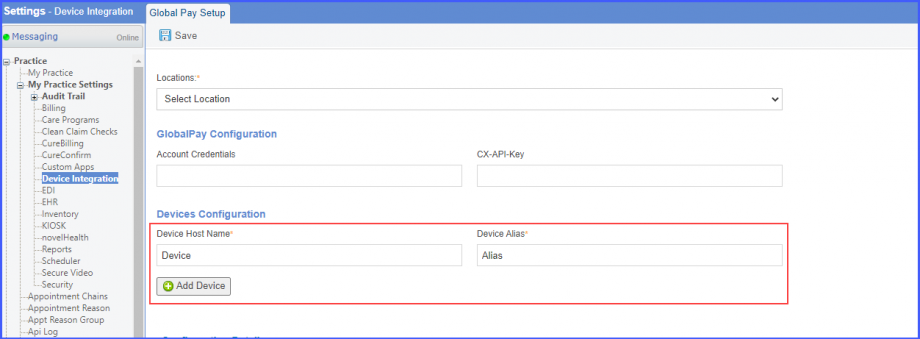
After clicking ‘Add Device’, the system configures the mentioned device with the practice and displays ‘Device Added’ text under ‘Add Device’ button.

Account credentials are validated before configuring a location on GlobalPay configuration screen.
This ensures that only those locations are configured which have valid credentials.
When the user clicks on the ‘Locations’ dropdown, a list of all locations is displayed which are partially or not yet configured.
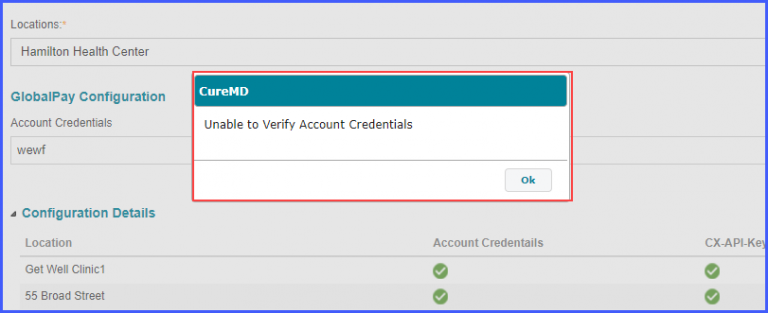
If the user selects a location that is not yet configured, and adds invalid credentials in ‘GlobalPay Configuration’ fields, then the system displays a prompt stating:
‘Unable to Verify Account Credentials’
Meanwhile, if the user selects a location that partially configured, the system automatically populates the ‘CX-API-Key’ field.

Similarly, only unique GlobalPay devices can be configured in the application.
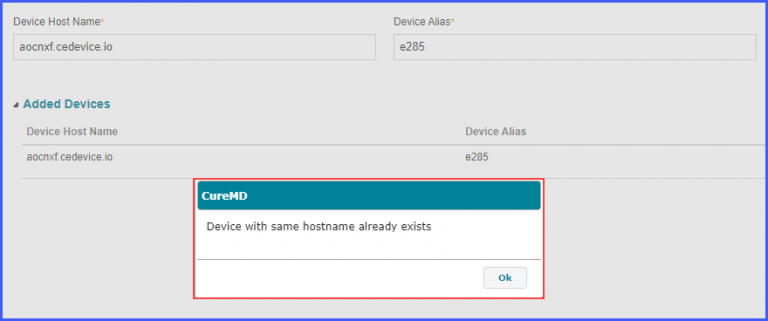
The user clicks on the ‘Devices Setup’ tab present next to ‘Global Pay Setup’ tab.
To save a GlobalPay device, the user has to add details about ‘Device Host Name’ and ‘Device Alias’ in the respective fields. If the user adds a device hot name that already exist, the system displays a prompt stating:
‘Device with same hostname already exists’
Users can type a shortcut key to access the GlobalPay configuration page directly from application’s homepage.![]()
This allows easy and direct access to support team when they are configuring credentials.
To do that, log into the application and type ‘Cltl + Alt + C’ key without clicking anywhere on the screen.
