How to Change Internet Explorer Settings for CureMD?
Follow the workflow mentioned above to land on the ‘Internet Options’.

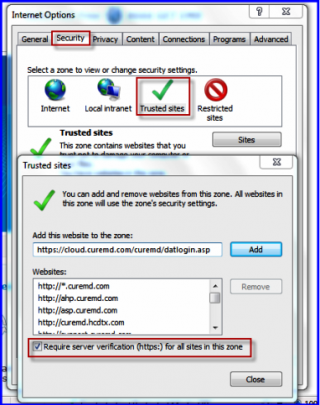
To add CureMD to trusted sites, select the ‘Security’ tab, click ‘Trusted Sites’, and then click ‘Sites’.
The ‘Trusted Sites’ pop-up will be displayed.
Enter CureMD’s web address in the box and enable the checkbox ‘Require Server Verification (https://) for all sites in this zone’.
Click ‘Add’ button.
When done, click ‘Close’.
Click ‘Trusted Sites’ and then click ‘select Custom Level’.
The ‘Custom Level’ options will be displayed.
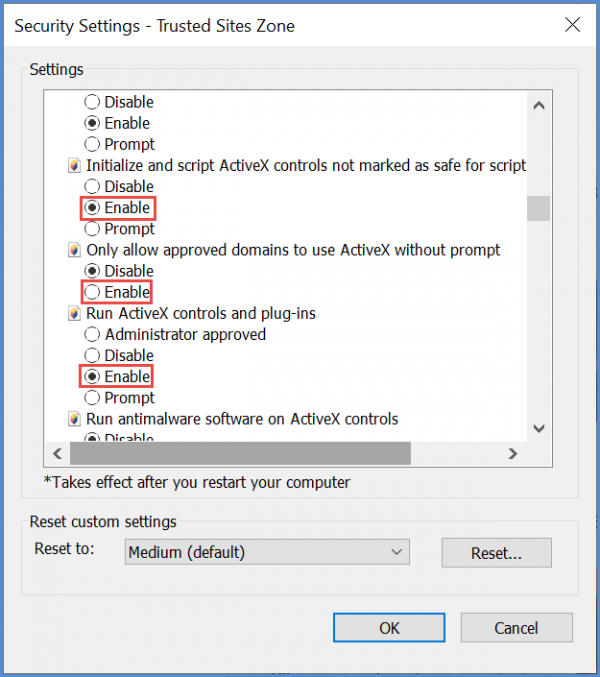
Enable ACTIVEX controls. Keep scrolling down and make sure that all the ActiveX components are ‘Enabled’.
Use the radio buttons to enable the options.
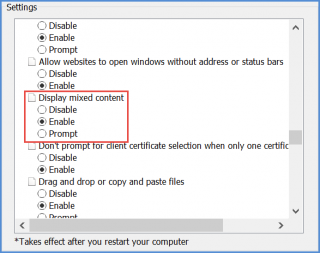
Scroll down further and ‘Enable’ the ‘Display Mixed Content’ option.
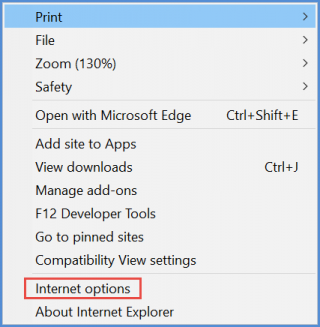
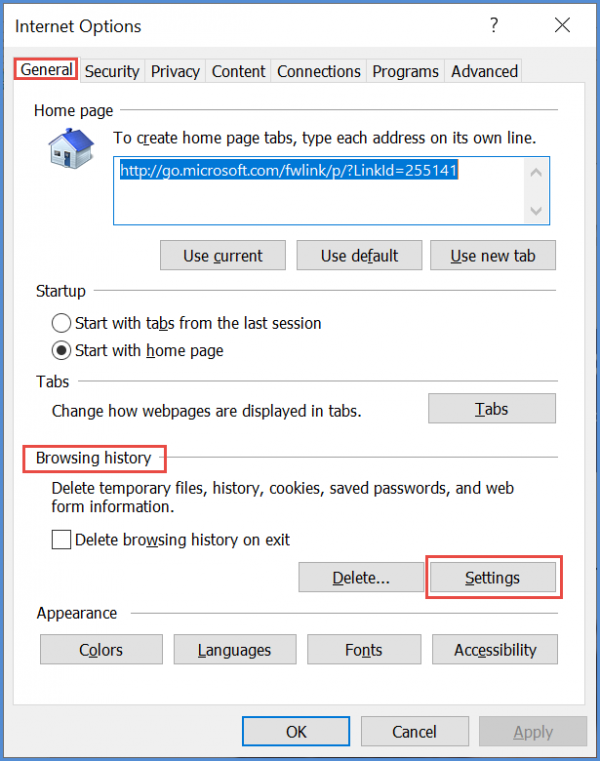
Go to the ‘General’ tab, and click on ‘Settings’ under ‘Browsing History’ section.
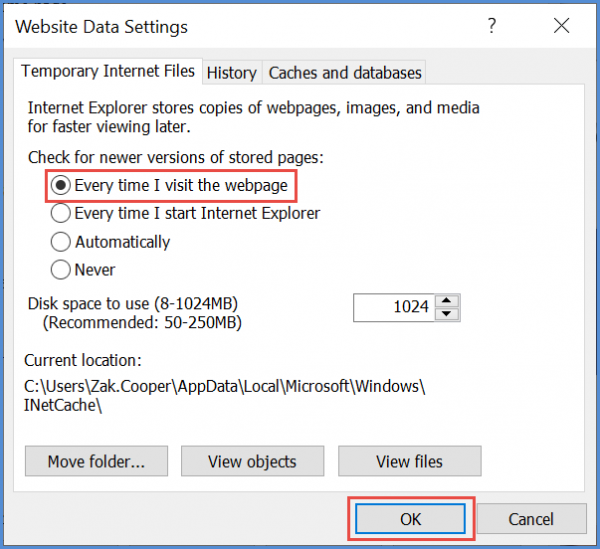
The ‘Website Data Settings’ options will be displayed.
Use the radio button to choose ‘Every time I visit the webpage’ option and then click ‘OK’.
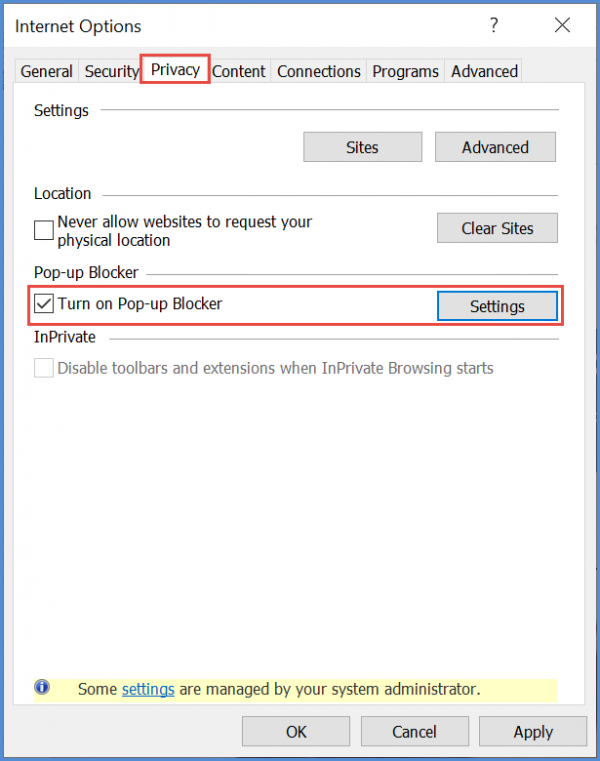
Go to the ‘Privacy’ tab.
Enable the ‘Turn on Pop-up Blocker’ option and click on ‘Settings’.
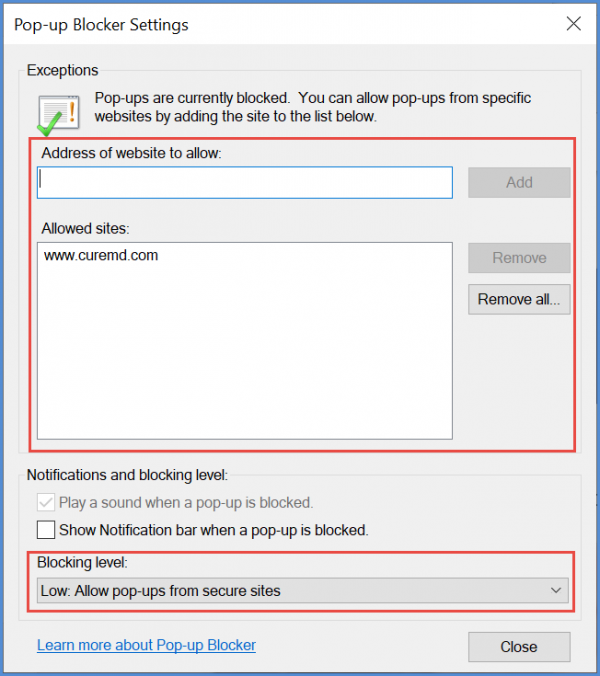
Add the CureMD web address under ‘Address of websites to allow’ and click ‘Add’.
Select ‘Low’ for ‘Blocking Level’.
Click ‘Close’ when done.