How to Enroll a Patient in CommonWell?
CommonWell allows patients and providers to easily access patient’s comprehensive health information regardless of the location where the healthcare is provided.
Organization: It is a healthcare facility from which a patient’s health data can be retrieved.
Person: When a patient is enrolled in CommonWell, the registered entity is called person.
Source: Source is a provider location which is linked to the person profile on the CommonWell network.
In order to enroll a patient in CommonWell, the following demographics must be present in the patient’s profile:
- First Name
- Last Name
- Date of Birth
- Gender
- Address
- Zip Code
- Phone Number (preferably Mobile Number)
To add or update patient’s demographics, click here.
Prior to patient’s enrollment in CommonWell, a disclaimer banner is displayed on the patient profile.
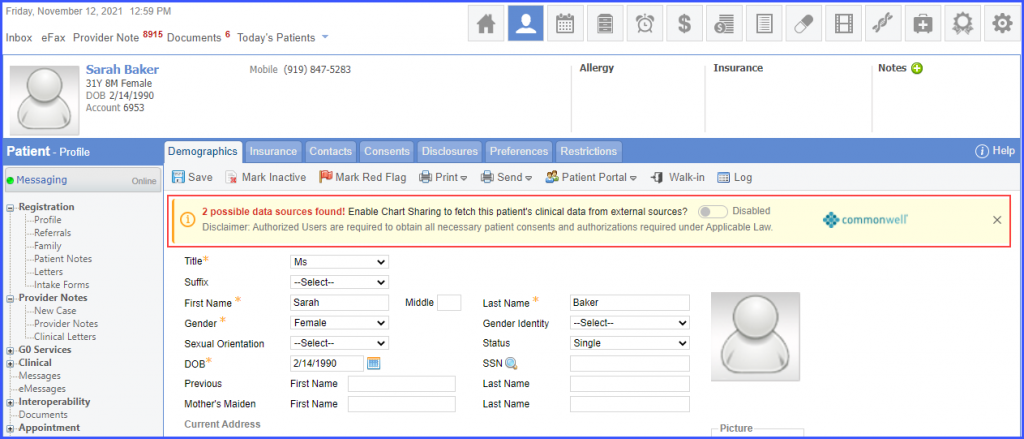
On the disclaimer banner the user can view the number of possible matching data sources (provider sites) a patient may have visited. These provider locations are not disclosed to the user as this violates the HIPPA rules. They are only visible once the patient has provided the consent to join CommonWell.
If the user does not see any possible matching data sources, then either the patient may not have been enrolled in CommonWell or the patient is enrolled in CommonWell but is not registered at any healthcare facility.
Users can click the cross icon on the banner if they wish to remove it from the patient profile page. The banner is no longer displayed once chart sharing is enabled.
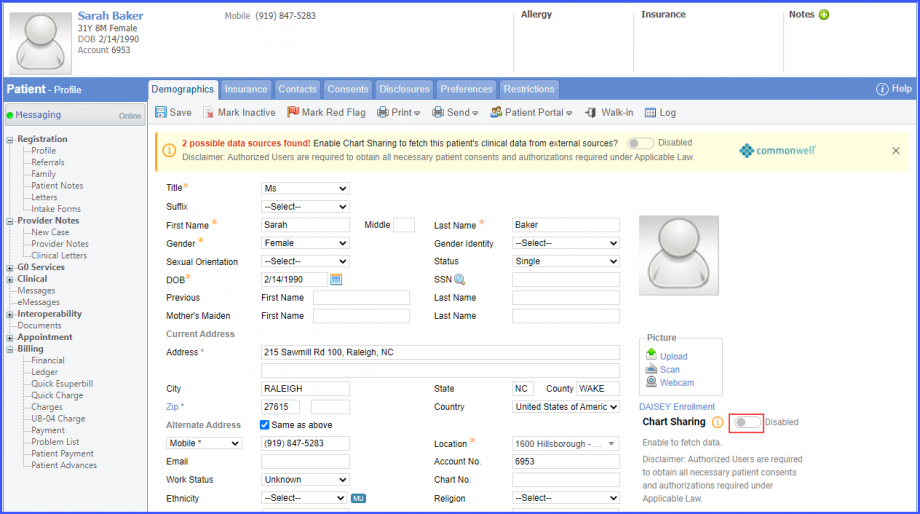
To enable chart sharing click the toggle button on the disclaimer banner. Alternatively, users can click the ‘Chart Sharing’ toggle button below the ‘Picture’ section on the patient profile.
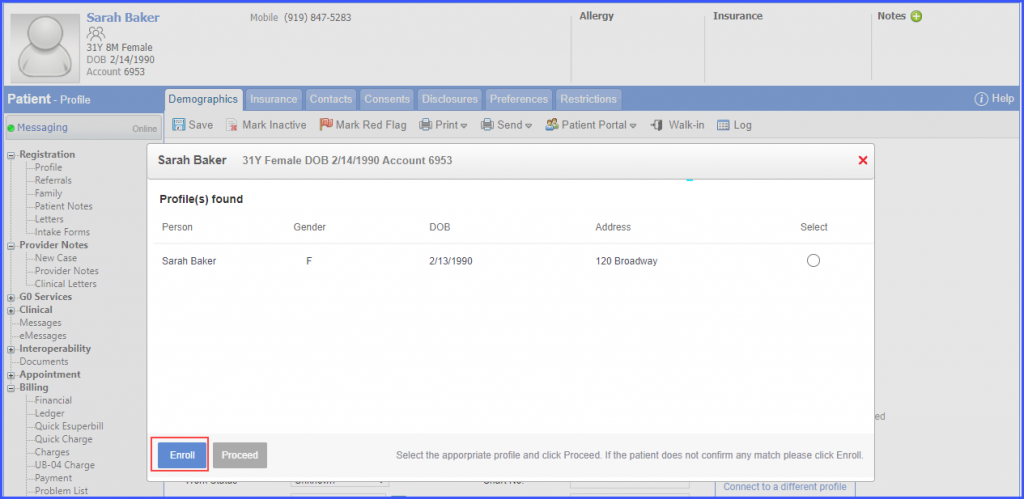
Once chart sharing has been enabled the system searches the CommonWell network for matching person profile(s). The system displays the person profile(s) that already exist on the network. In case more than one profile is found, the user may confirm with the patient about the correct person profile. Multiple person profile matches are displayed when either the patient has been registered by multiple organizations or there exists a different person with matching demographics.
Select the appropriate person profile by clicking on the radio button next to it. Then click ‘Proceed’.
If the returned profile(s) does not belong to the patient, the user can click on the ‘Enroll’ button to register a new person profile on the CommonWell network.
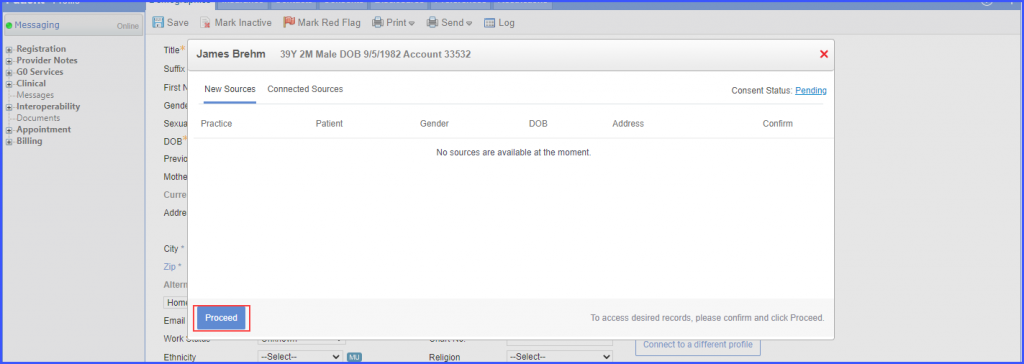
The user is navigated to the ‘Sources’ screen. The ‘New Sources’ tab displays the sources which have not been linked to the person’s profile. To link a source, click the toggle button in the ‘Confirm’ column and click ‘Proceed’. The source is moved to the ‘Connected Sources’ tab.

The ‘Connected’ Sources’ tab contains the sources which have been already validated and linked to a person’s profile. This eliminates the need for manually linking the sources. If there exists an invalid source link or if the patient wishes to stop sharing data from a particular source, click the cross icon next to it.

Then click ‘Confirm’.
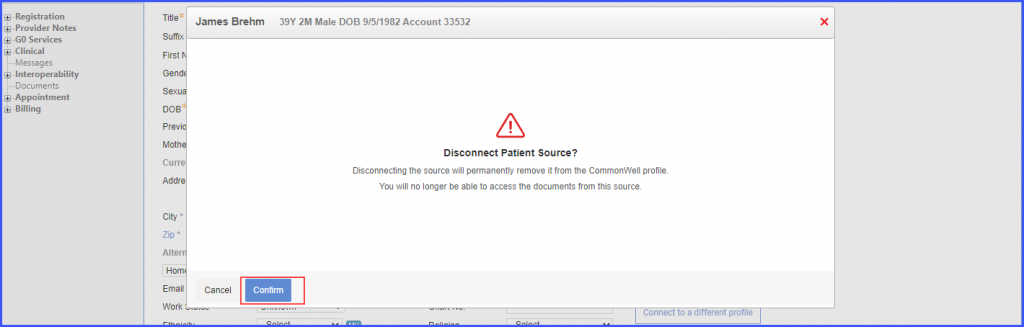
This action permanently removes the source from the connected sources list. The source disconnection cannot be undone.
In case, no sources are displayed for the person profile, it means that the patient is either enrolled in CommonWell but not linked to any healthcare facility or there exist duplicate person profiles. If there are multiple person profiles, then reset the connection and connect to a different profile.
When the sources have been linked and validated, click the ‘Proceed’ button.
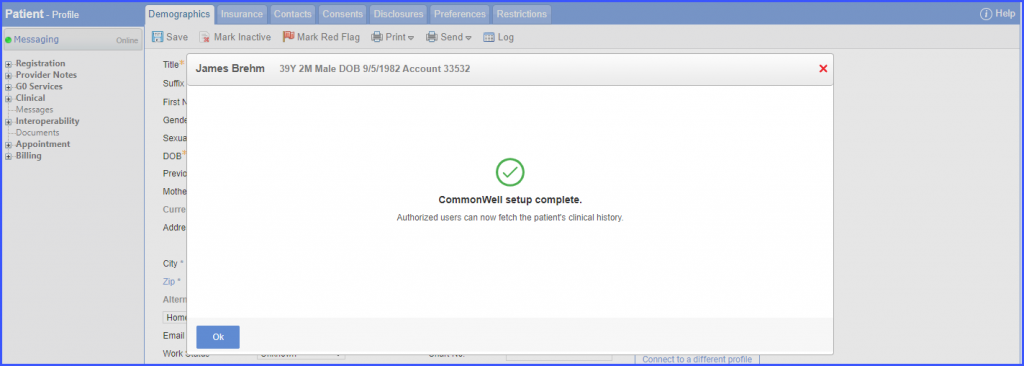
The patient is successfully enrolled in CommonWell. Click ‘Ok’.
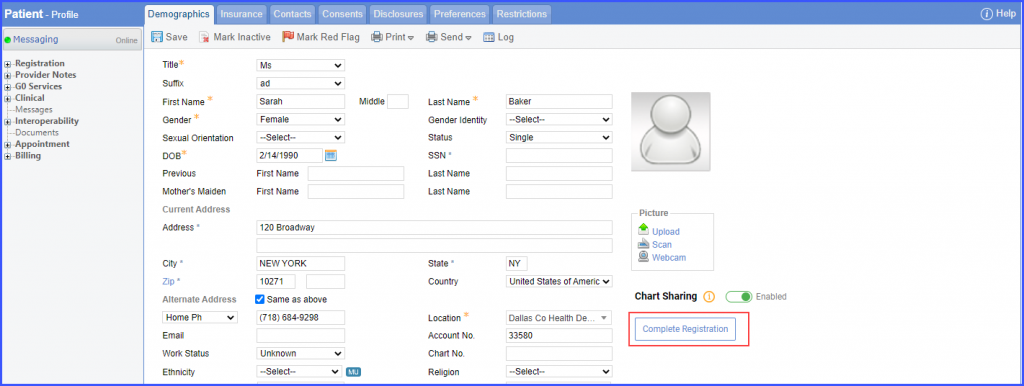
If the user terminates the patient enrollment process without completing it, the system displays the ‘Complete Registration’ button on the patient profile. This button can be clicked to resume the registration at a later time.
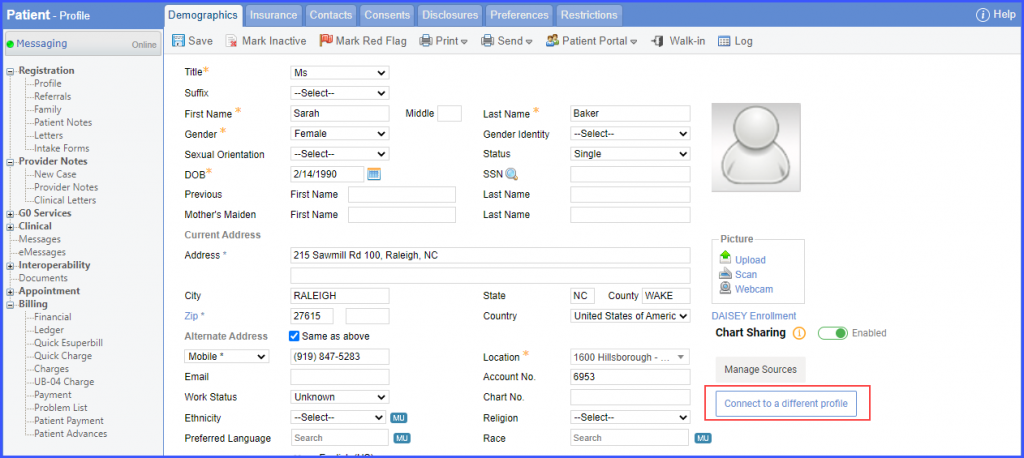
In case, the user accidently connected the patient with the wrong person profile, then the connection can be reset.
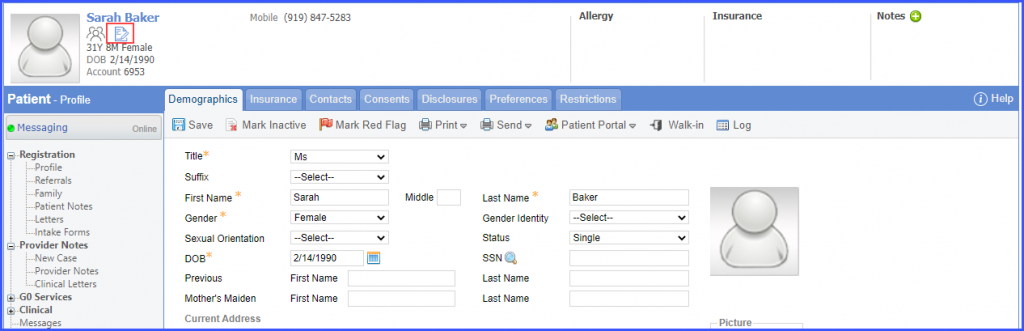
Click on the ‘Connect to different profile’ button.
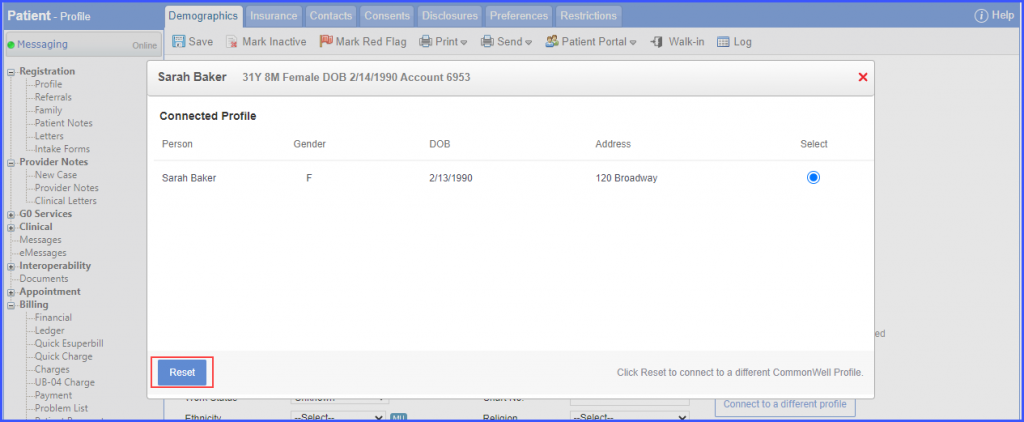
The system displays the person profile linked to the patient. In order to reset the connection, select the radio button next to the person profile and then click ‘Reset’.
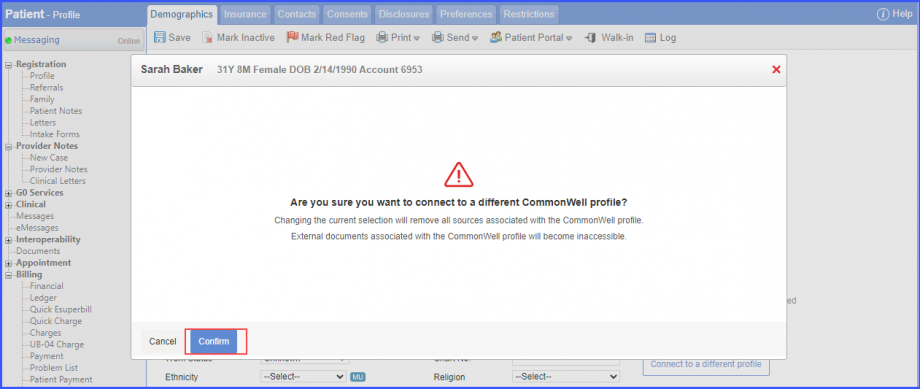
Click the ‘Confirm’ button to authorize the resetting process.
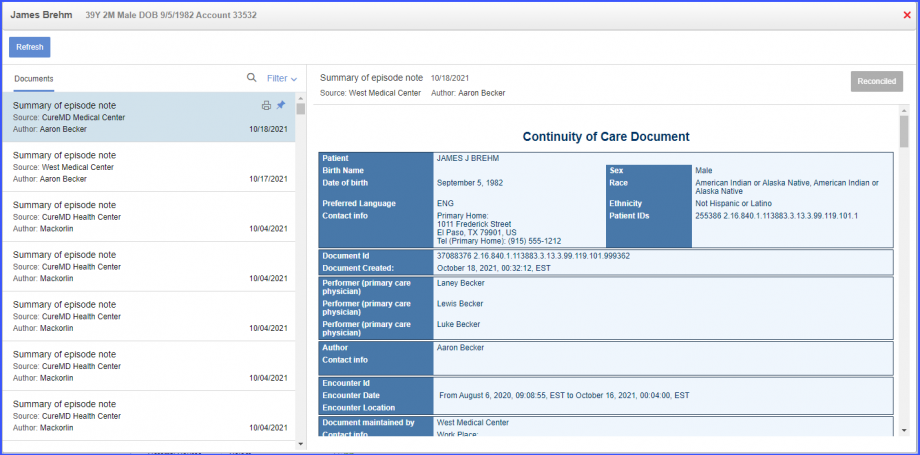
The external document viewer lists all the documents for the selected patient that are retrievable from all the organization participating in CommonWell.
Click the external document icon on the patient banner to access the external document viewer.
Click on a document in the left pane and the document is displayed in the right pane.
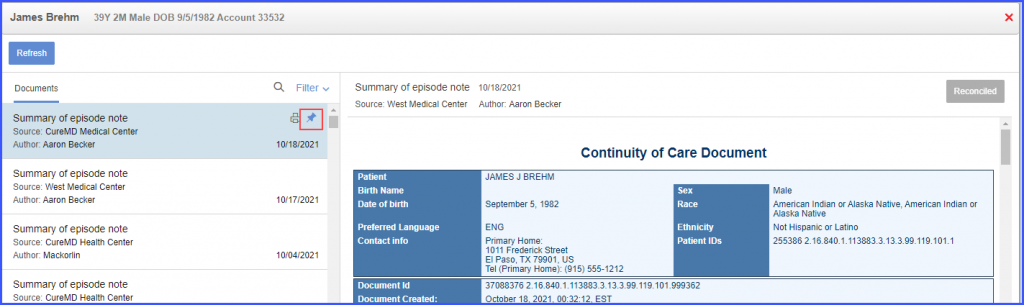
Users can pin a document to the top of the list by hovering over the document title in the left pane and clicking the ‘![]() ’ icon. If more than one document is pinned, then the most recent document is displayed at the top of the list.
’ icon. If more than one document is pinned, then the most recent document is displayed at the top of the list.
To unpin a document, click the ‘![]() ’ icon.
’ icon.
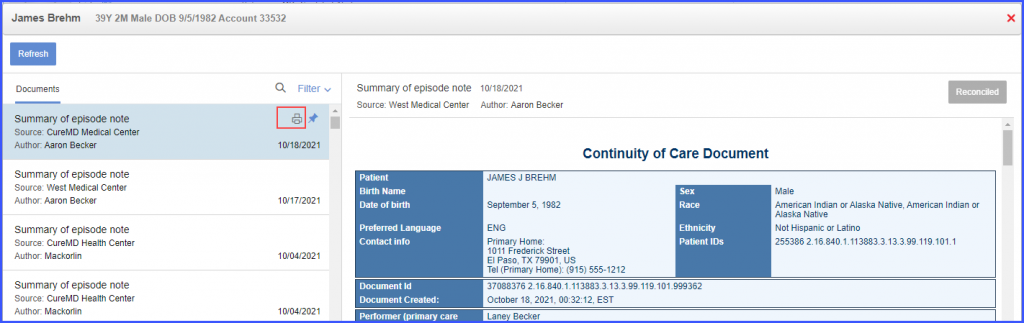
Similarly, users can print an external document by hovering over the document title in the left pane and clicking the print icon. Both pdf and CCD documents can be printed.
To filter external documents, click the ‘Filter’ button and the filters overlay is displayed.
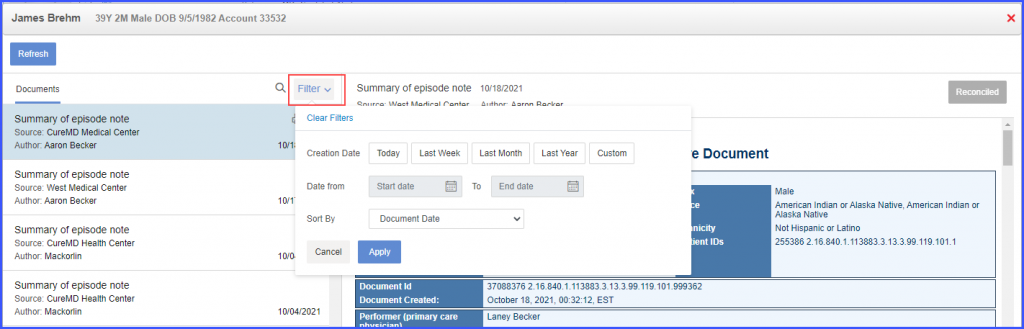
External documents can be filtered based on ‘Creation Date’ or a date range. Additionally, the documents can be sorted based on ‘Document Date’ or ‘Reconciliation Date’ by making a selection from the ‘Sort By’ dropdown. Once the desired filter criteria have been selected, click ‘Apply’. To clear the filters, click ‘Clear Filters’.
To reconcile a document, click on the ‘Reconcile’ button on the external document viewer screen.
Documents can be searched in the search bar by:
- Provider Note Name/ Type
- Source Name
- Document Creation Date
- Author/Provider Name
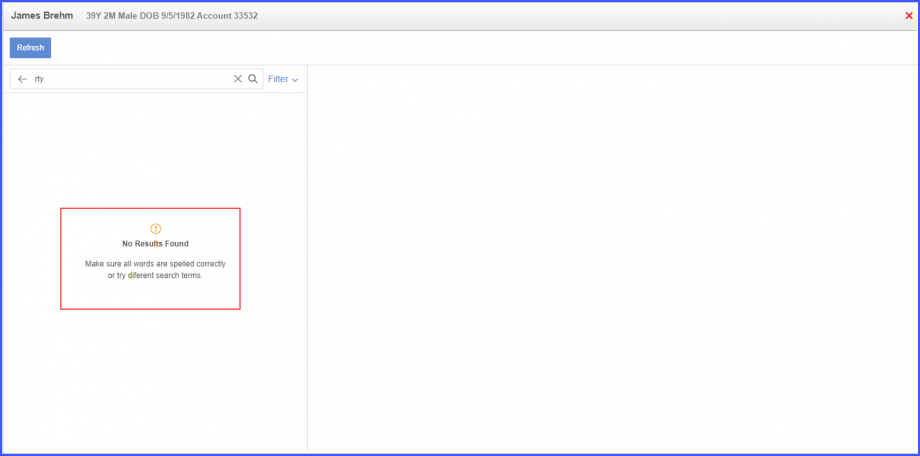
Similarly, users can search clinical components such as medications in the search bar. At least 3 characters must be entered here. Only the documents that have a match are displayed in the search results.
If the searched term does not have a match, the system displays ‘No Results Found’ message.
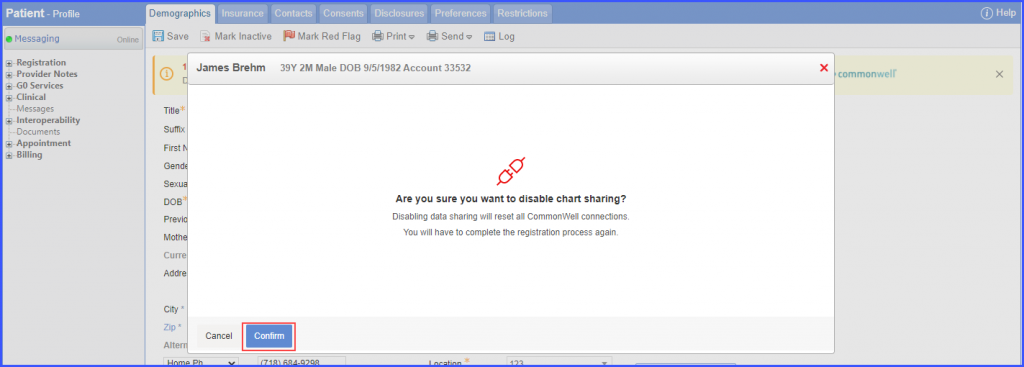
Users have the option to opt-out of CommonWell. Click the ‘Data Sharing’ toggle button on the patient profile to disable data sharing. Then click the ‘Confirm’ button.
Users can manage permissions and prohibit unauthorized users from:
- Making changes to patient’s CommonWell profile
- Accessing external document viewer
- Reconciling external documents
To manage these permissions from the ‘Practice User’ settings, click here.
To manage these permissions from the ‘Role’ settings, click here.
Moreover, users can make patient’s consent mandatory for data sharing with CommonWell. To enable the settings for making patient’s consent mandatory, click here.
Once the settings are enabled and the user clicks on ‘Chart Sharing’ toggle button on patient’s profile, the system displays a consent form.
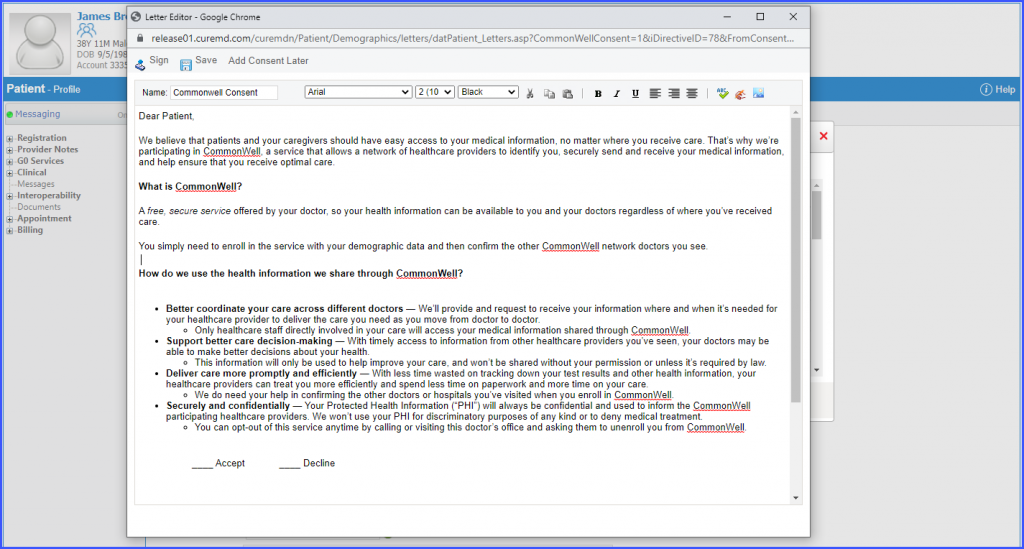
User can sign the consent form by clicking the ‘Sign’ button and the consent form is added to the patient’s consents. To see where the consent form is added, click here.
Similarly, users can click ‘Add Consent Later’ and close the form to add the consent at a later time. If ‘Add Consent Later’ is clicked, then ‘Consent Status: Pending’ is displayed on the ‘Sources’ and ‘External Document Viewer’ screens.

The ‘Pending’ hyperlink can be clicked to access the consent form.
Error and warning text on external document viewer are replaced with icons. ![]()
Users get an improved and convenient interface.
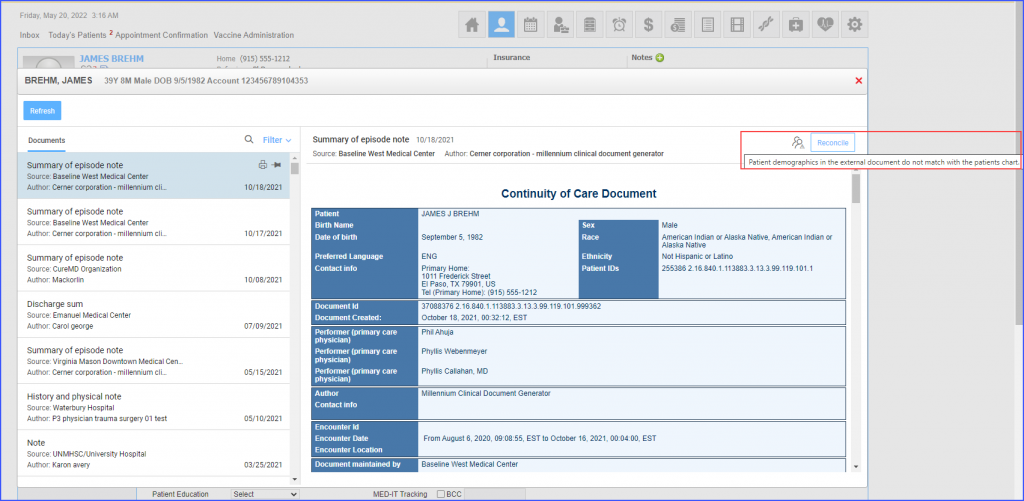
When the patient’s demographic information in the external document does not match with the information in the patient profile in CureMD, appears. When hovered over it, following description is displayed:
‘Patient demographics in the external document do not match with the patients’ chart.’
However, users can reconcile the patient’s clinical data by clicking on the ‘Reconcile’ button next to the icon.
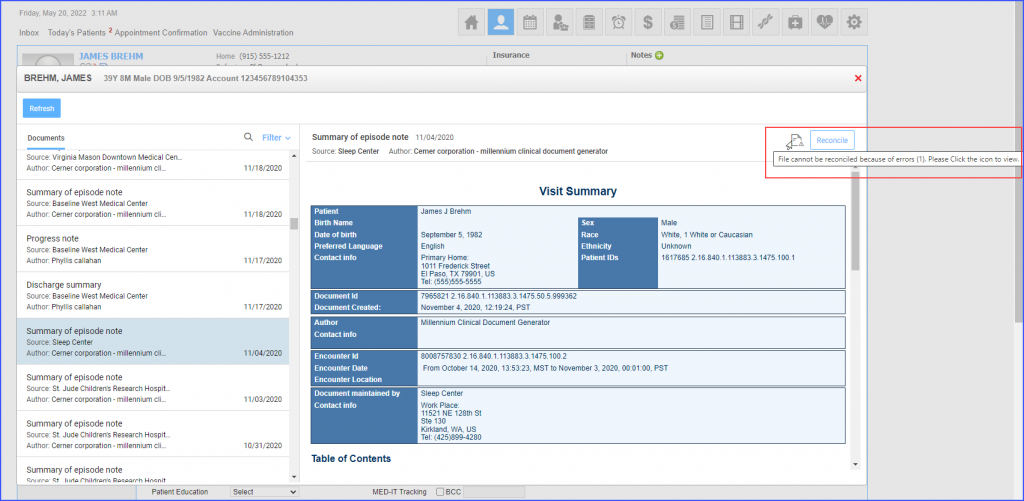
When the external document is corrupt or contains errors, the users can see icon. When hovered over it, following error description is displayed:
‘File cannot be reconciled because of the error (1). Please Click the icon to view.’
Users can not reconcile the document as the reconcile button is disabled.
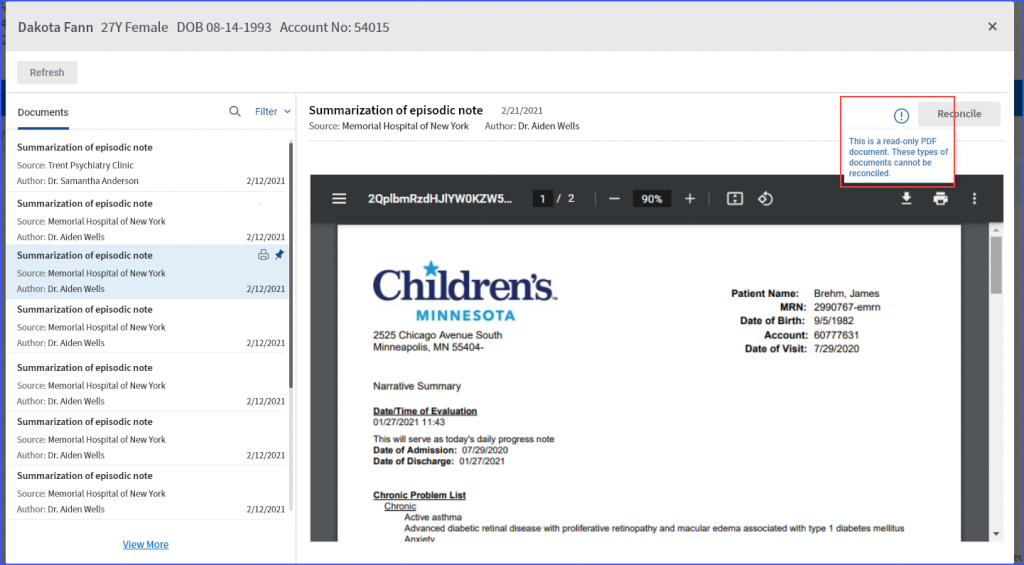
When the document retrieved from the external source has an invalid format, icon appears on it. The reconciliation for this document is disabled as it is a read-only document.
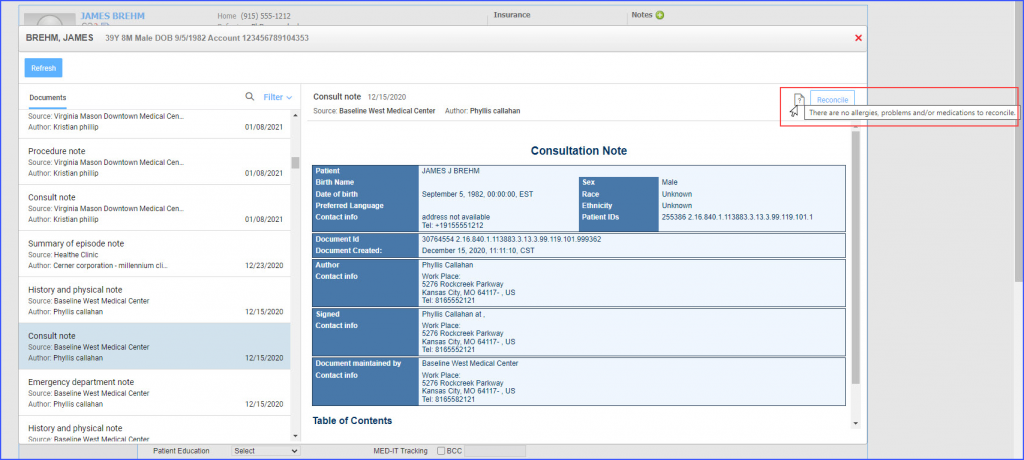
If allergies, medications and problems are not available in the external document, icon appears on it. When hovered over it, error description is displayed as:
‘There are no allergies, problems and/or medications to reconcile’
Users can reconcile this document.
Clicking on any of the error icons displays the detailed error descriptions.
