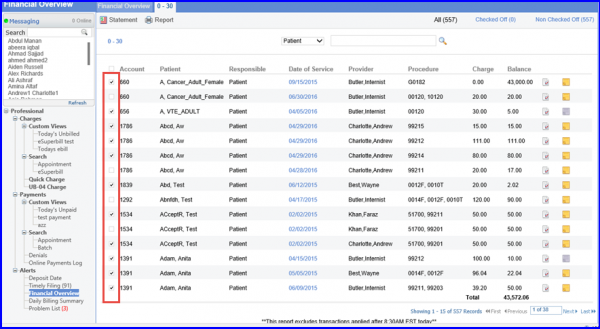
What Search Filters can be used to Review Claims Data?
Three filters are added so user can quickly review claims data in different buckets, where user can go and manage outstanding claims. These filters are:
- All: It displays all claims data
- Checked off: It displays checked-off claims only
- Non Checked off: Only those claims are displayed that are not checked-off
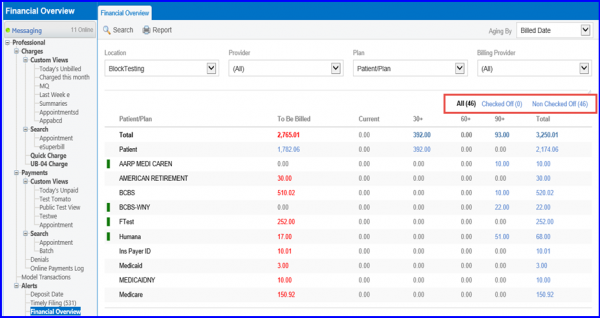
When the user opens a certain bucket, the selected filter remains intact. Please note the following:
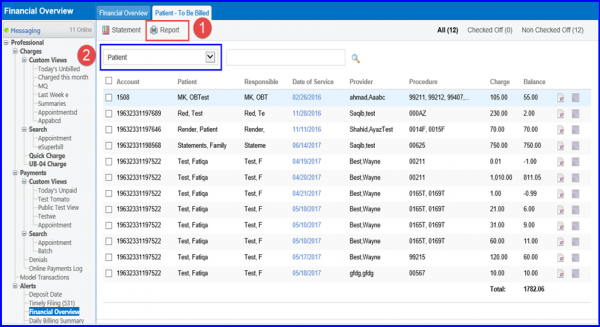
1. By clicking on Report option at the top, it will allow you to print the summary of this report.
2. You can further make a Search in the list by a Patient or a Procedure. If you need to find a particular patient, select Patient from the drop down menu and enter the patient’s name. Once you hit the Search button, the details of required patient appears. Similarly you can select Procedure from the drop down menu and enter a Procedure to make a search by a procedure.
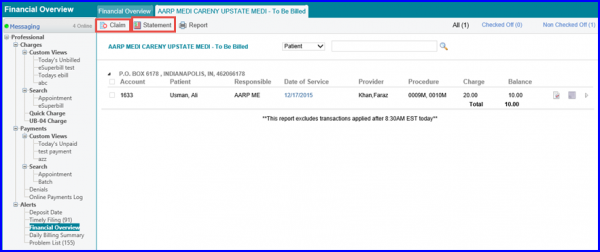
A Charge can be viewed or printed in HCFA format by clicking on the Claim option, check the box with an account number and click on Claim. A patient statement can also be viewed or generated from this page, just mark the check box and click on Statement.
Any required changes can also be made in order to resubmit a particular claim. Clicking on the Date of Service will show the Charges page. Any change can be saved in this which can also be resubmitted.
A claim can be marked as Check Off to notify that required action has been taken on the claim. Clicking on the check off box at the end of a particular transaction enables you to enter Check Off date with your comments.
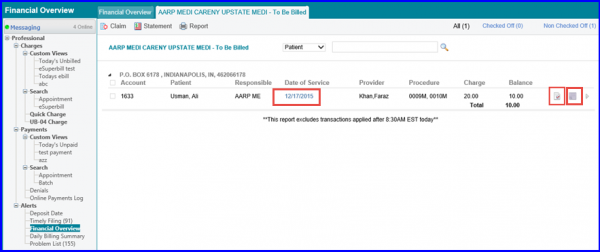
By clicking the small box at the end of a transaction will allow you to enter the Appointment Notes. It allows you to enter your comments, set a reminder or assign it to another user to do follow up on the date of service.
On the Financial Overview page, whenever the records are selected by marking the checkboxes, they are retained even if you move to the next page using the page controls. In this way, the selected records are still marked when you open the same page again.
The claim status icon is disabled for plans that do not offer real time claim status inquiry.
This ensures that incorrect real time claim status requests are not submitted.
The ‘Verify Claim Status’ button remains enabled if the insurance plan allows for Real Time Claim Status Inquiry.
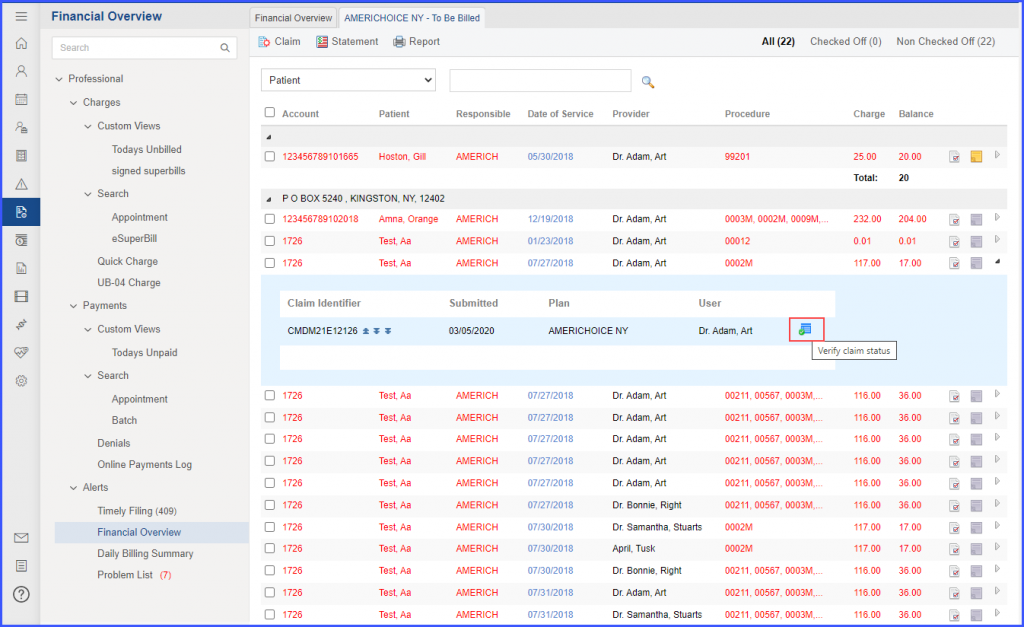
On the other hand, if the insurance plan does not offer real time claim status inquiry, the button for the claim status verification remains disabled.

When the user hovers over the disabled button, a tooltip is displayed which states ‘Plan does not support real time claim status’.
Users can view the complete history of responses for real time claim status inquiry.![]()
Click on the ‘Verify Claim Status’ button to open the ‘Claim Status Inquiry’ popup.
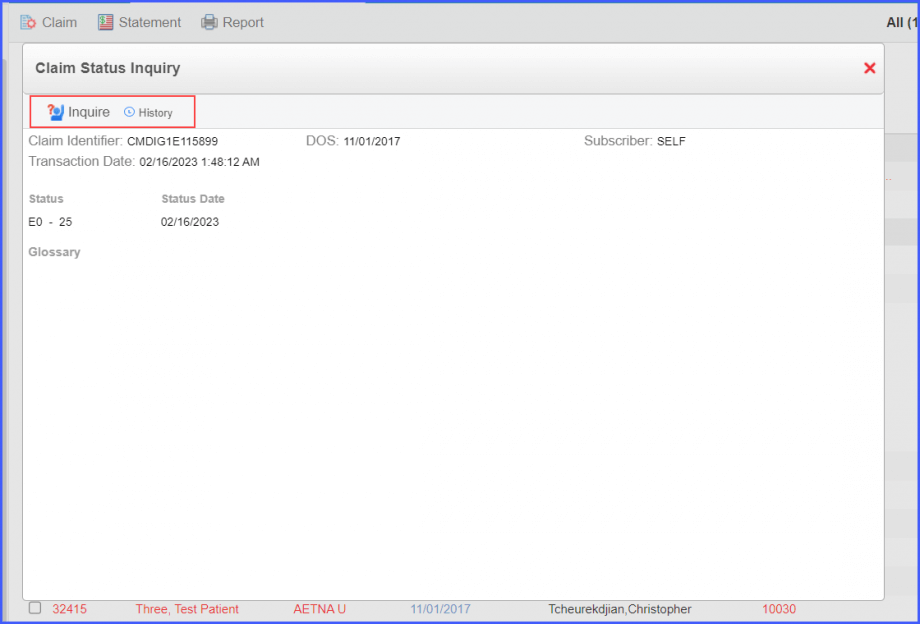
From this popup, users can view the history of responses by clicking on the ‘History’ button. Moreover, they can run the real time claim status inquiry service by clicking on the ‘Inquire’ button.
