How to Add PAN for an appointment?
Follow the above mentioned workflow to land on the Check-in appointment tab.
User clicks ‘PAN’ to edit it or associate it with the appointment.
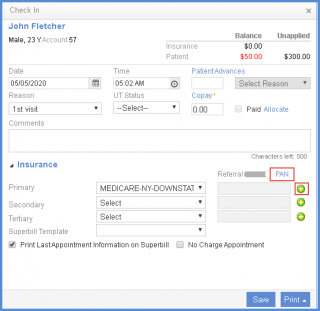
‘PAN Selection’ window opens up.
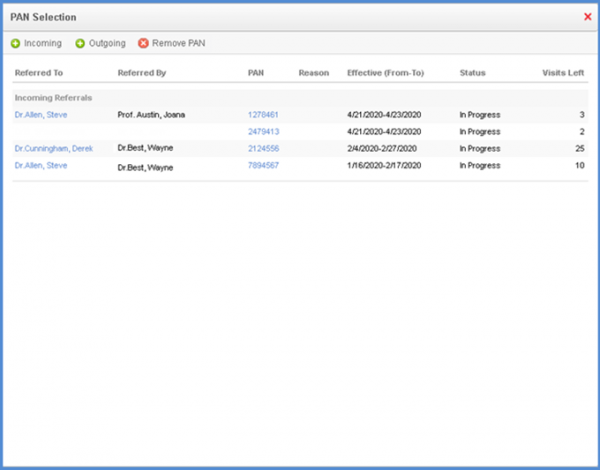
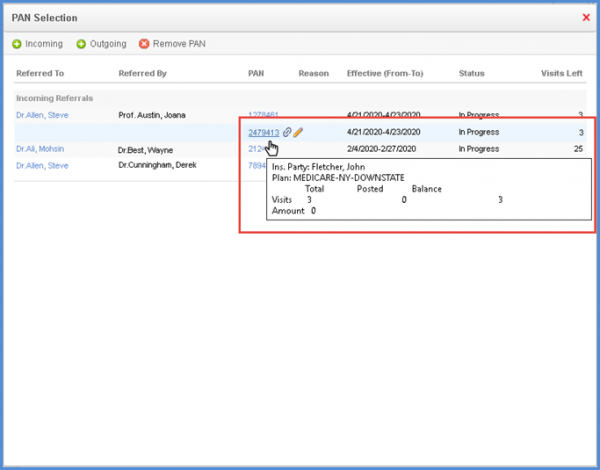
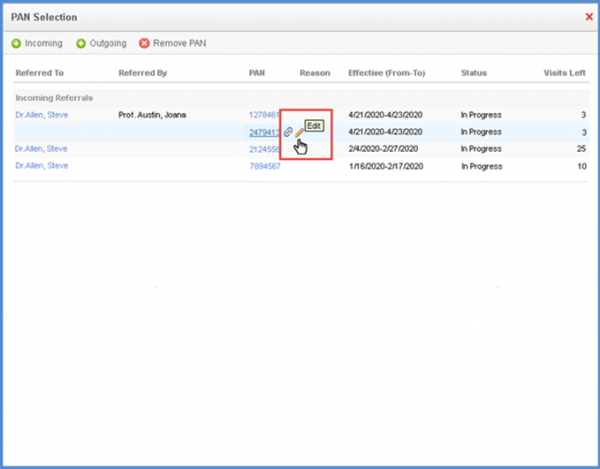
Hover over a row to view the ‘Associate’ and ‘Pencil’ icon against a PAN. Clicking the ‘Associate’ icon associates the respective PAN with the appointment.
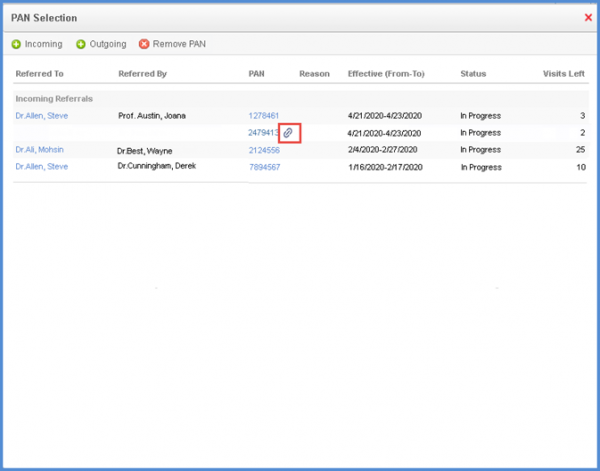
Once the PAN is associated with the appointment, the ‘Associate’ icon shows up against that entry in the list.
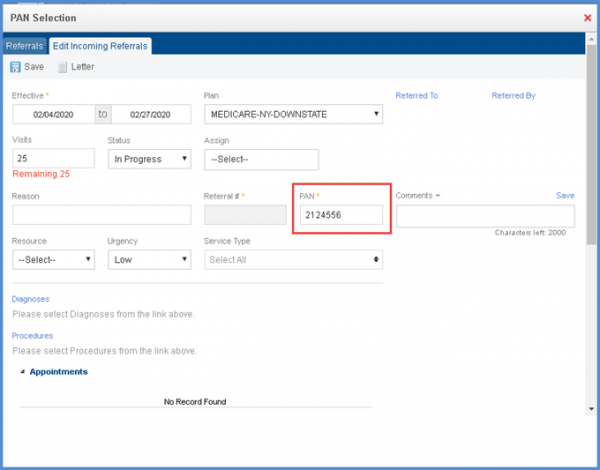
Clicking the ‘Pencil’ icon, opens the respective PAN in the edit mode.
User can make required changes here.
Similar changes have been implemented for ‘PAN association’ on ‘Charges’, ‘Referrals association’ on ‘Charges’ and ‘Referrals association’ on ‘Appointments’.
Moreover, ‘PAN’ can be edited from the ‘PAN Selection’ window in Charges. Referrals can also be edited in the same way from the ‘Referral Selection’ window when opened from either ‘Appointments’ or ‘Charges’.
