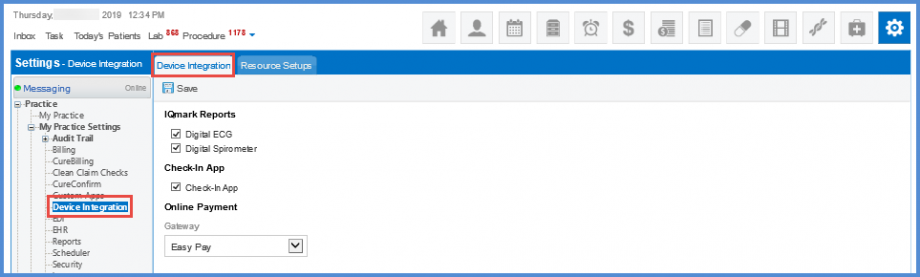
How to Customize Text Message (TM) Alerts, Notification and Reminders?
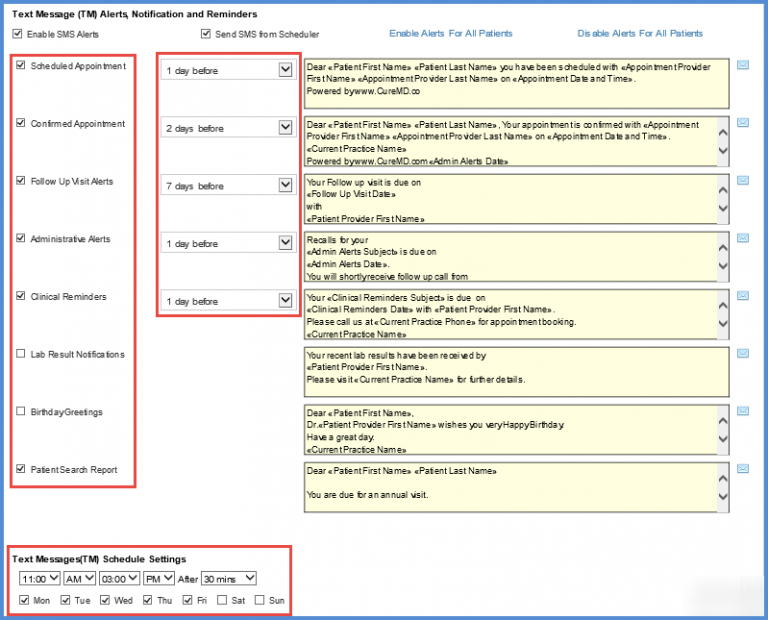
Message categories include the following:
- ‘Scheduled Appointment’
- ‘Confirmed Appointment’
- ‘Follow up Visit Alerts’
- Administrative Alerts
- ‘Clinical Reminders’
- ‘Lab Result Notifications’
- ‘Birthday Greetings’
- ‘Patient Search Report’
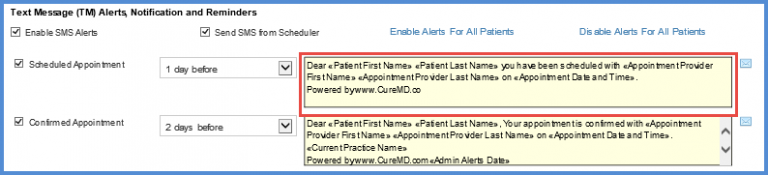
To enable a message for a patient, enable the check box next to it.
Choose the appropriate ‘Activation Time’ from the dropdown menu next to each alert type.
Messages to be sent can be customized by type and schedule for sending text messages can be set to specific days. Times for group of alerts can also be selected.
Messages to be sent can be completely customized and edited as require. To do this, click on the ( ![]() ) icon next to the alert ‘type’ box.
) icon next to the alert ‘type’ box.
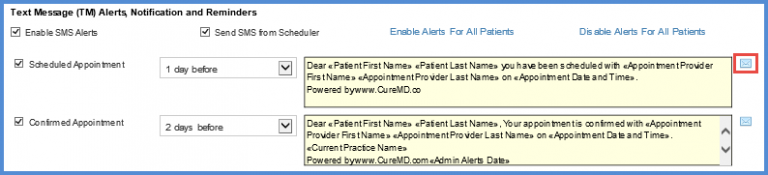
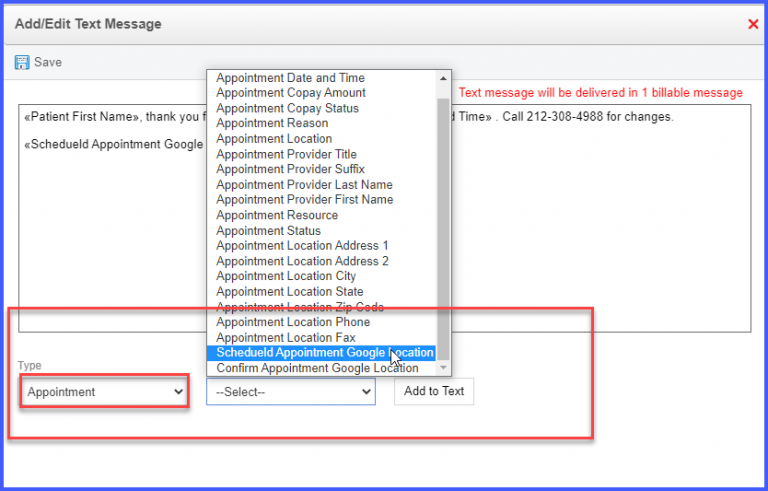
The ‘Add/Edit Text Message’ pop-up will be displayed.
The message editor contains ‘Type’ and ‘Fields’ drop boxes to add tags into the message according to requirements.
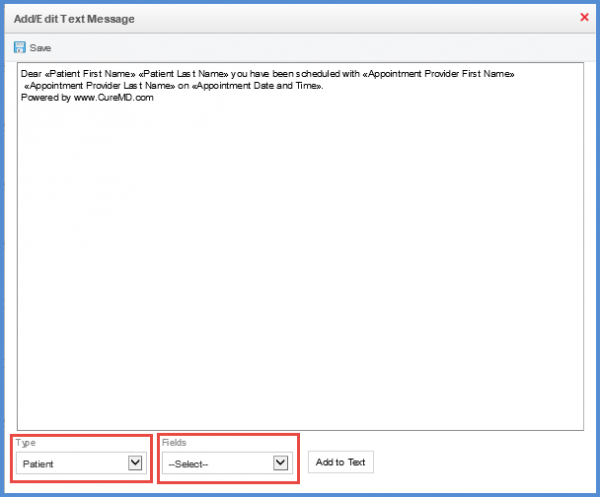
Click ‘Add to Text’ button to add tags to the message text. When finished editing, click the ‘Save’ button.
Messages are visible in the message box next to ‘Activation Time’ of each message type.
The last saved template is displayed in the drop down and the text editor of the Patient Search Box.
The last saved template is displayed here even after the page is refreshed.

Patient search report template has same drop-down options in all application workflows. This ensures uniformity in the application.
The options in ‘Types’ and ‘Fields’ drop-downs displayed on the template are exactly the same as displayed while creating patient search template from ‘Reports’ module. To view drop-down options in Reports module, click here.
Patients can add the Google map location URL in SMS templates being sent to patients.
Select the type ‘Appointment’ from the Type dropdown and choose the ‘Scheduled Appointment Google Location’ flag from the Fields dropdown to add the Google map URL in the SMS template.
Users can select specific locations where text alerts, notifications and reminders can be sent. This ensures that alerts or reminders are only sent to patients scheduled at the selected locations.![]()
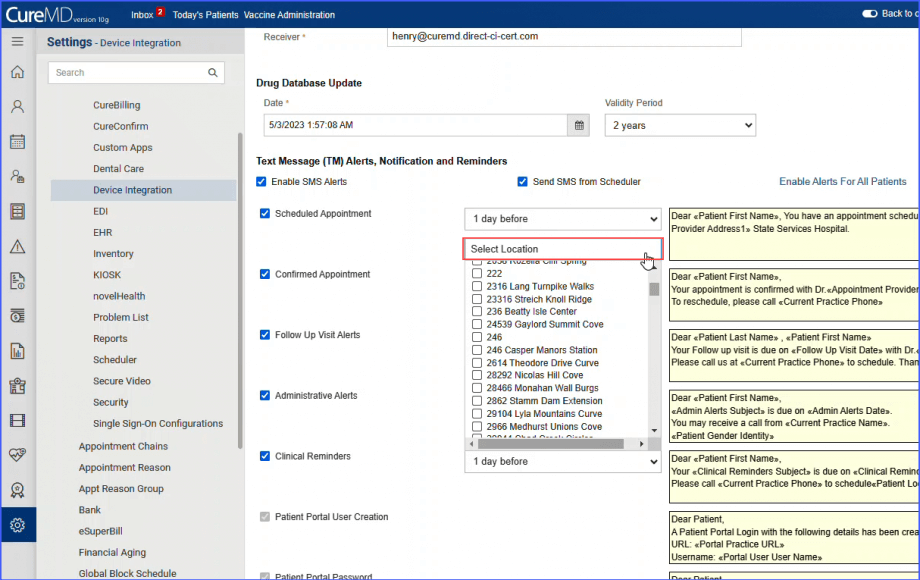
A second dropdown field for the selection of location has been added under the time selection dropdown with both ‘Scheduled Appointment’ and ‘Confirmed Appointment’ fields.
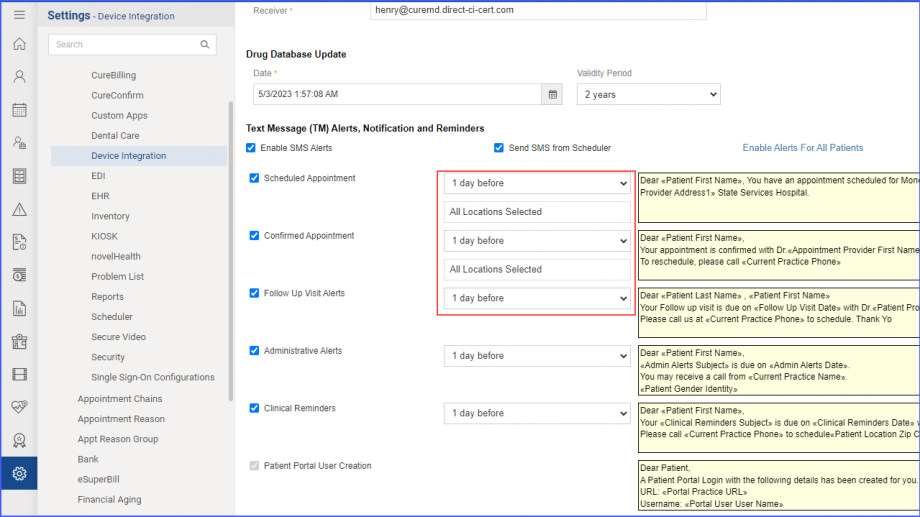
Click on the dropdown to select the location(s) where text alerts, notifications and reminders are required to be sent. Then click ‘Save’.
Click the ‘Add to Text’ button to add the map URL of your practice to appointment text alerts being sent to patients.
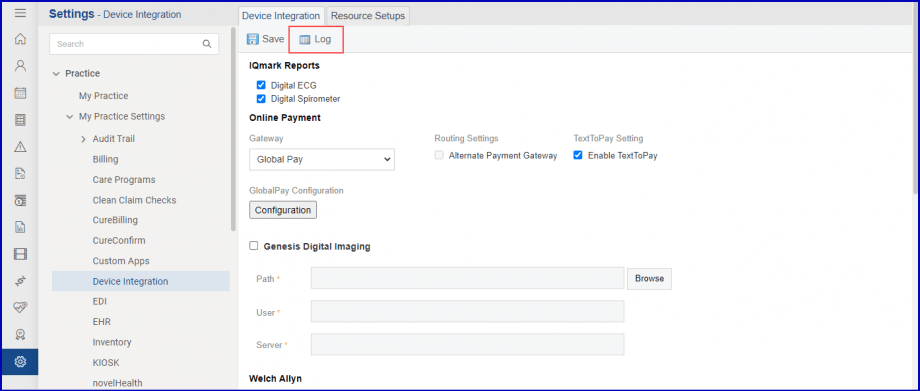
Logs are recorded for changes being made in the text message settings in device integration. This ensures that user actions can be easily tracked.
Click on the ‘Log’ button to access the Event Logs window.
On the ‘Event Logs’ window, logs of the changes appear in collapsed form.
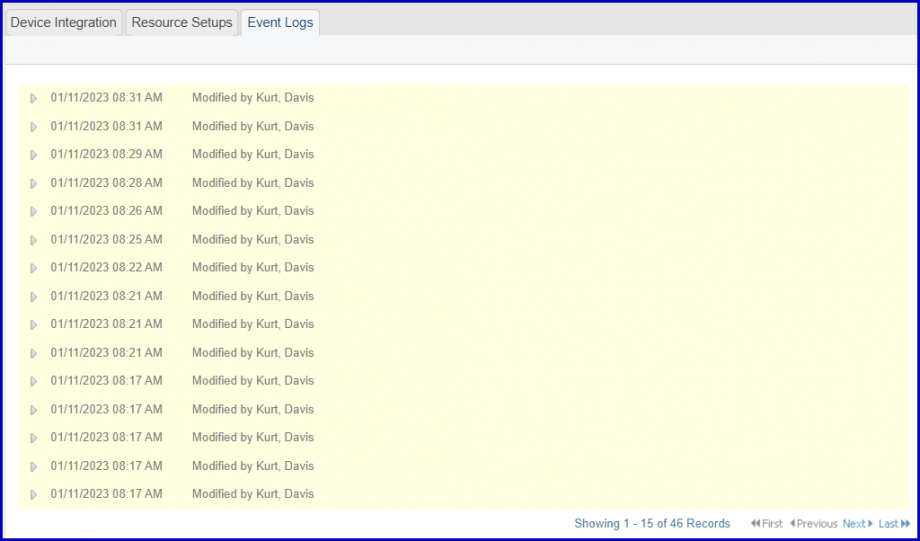
The collapsed log constitutes of the date and time the change was made, as well as the name of the practice user who made the change.
To view what action was made by that user, click on the carat icon to expand the log.
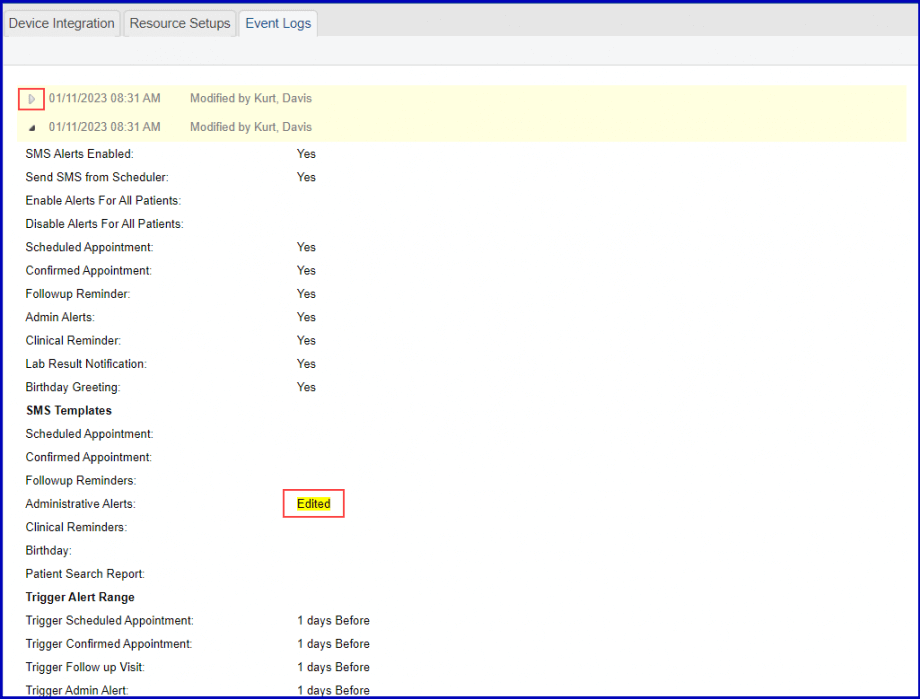
The change made by the user listed on the log is highlighted and labelled as ‘Edited’.
