How to Add a Product in Inventory?
In order to add a product, click ‘Inventory’ from the application header.
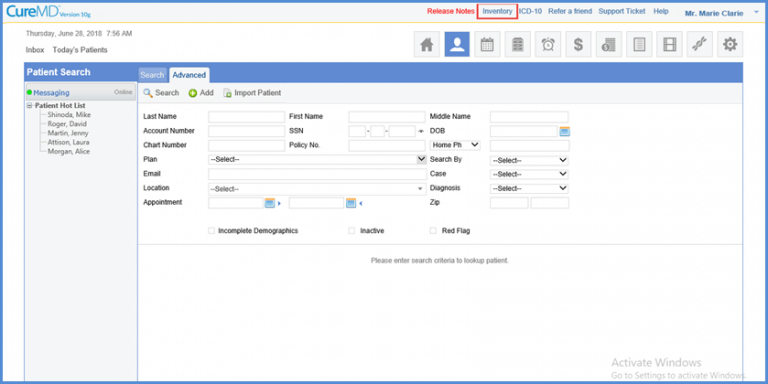
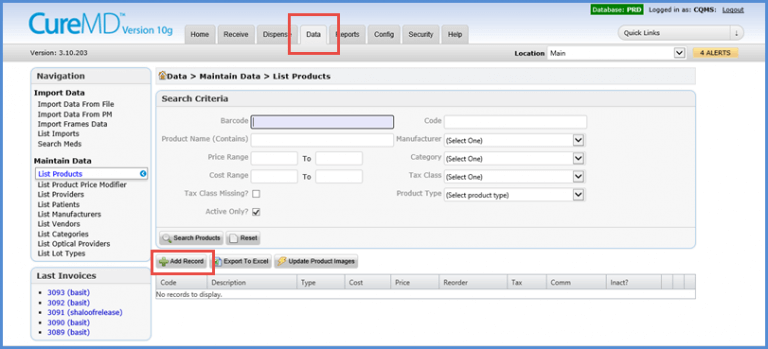
Doing so opens the ‘Inventory’ Module, from here open the ‘Data’ tab. On this screen, click ‘Add Record’ to add a product.
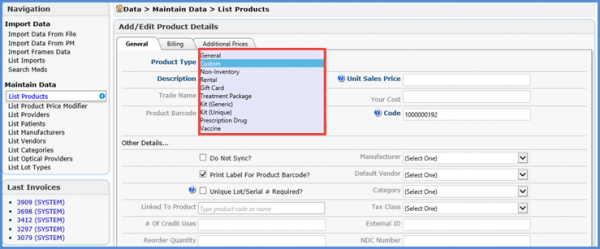
This opens the ‘Add Product Details’ screen. In the ‘Product Type’ field, user can select the type of product to be added. However, for ‘Medications’ and ‘Immunizations’ always select ‘Prescription drug.’
‘Product Type’ determines how the product is dispensed from the inventory.
The user can record the name of the product in the ‘Description’ field.
In the ‘Unit Sales Price’ field, user can record sales price per unit for the product being added.
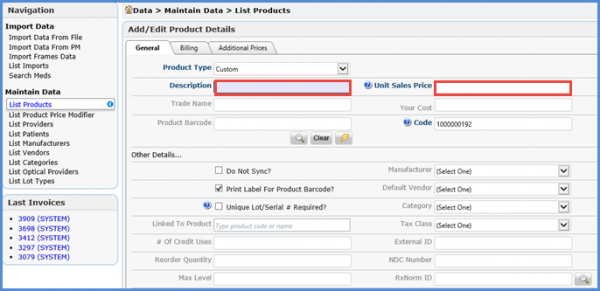
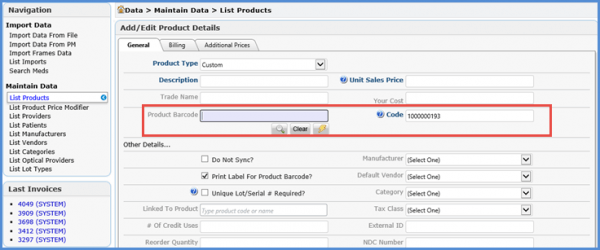
Next up is the ‘Code’ field. The value for this field will always be system generated. However, the user can edit it.
Users can check the ‘Unique Lot/Serial # Required’ checkbox if they want the Lot/Serial Number for the lots loaded for this product to be always unique and mandatory. System does not allow to load a lot with a particular name more than once.
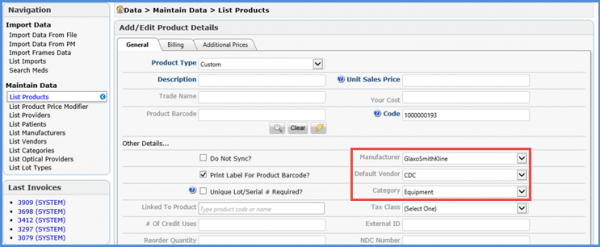
Moving on, users can choose the product’s manufacturer, default vendor, category and tax class from the respective dropdowns.
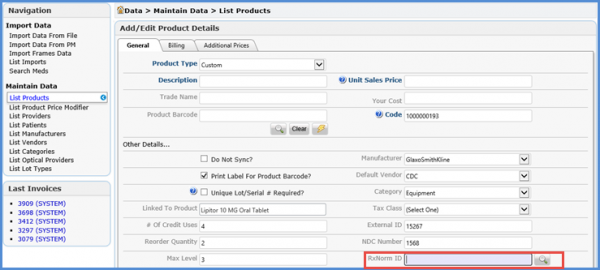
Users then record the ‘External ID’, ‘NDC Number’, ‘RxNorm ID’ or ‘CVX Code’ fields for the product. Recording at least the ‘RxNorm ID’ or ‘NDC number’ will be mandatory.
The ‘NDC Number’ for all medications and immunization is present on the product label and therefore, users will record it from there.
Users will search the ‘RxNorm ID’ using the search button present with this field. They can search either using the drug name or the ‘NDC number.’
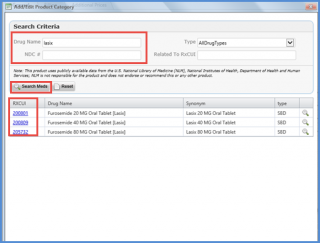
Clicking ‘Search Meds’ lists all relevant results. The user can click on the ID under ‘RXCUI’ column for the product to be added.
The CVX code will only be applicable for vaccines. Users can search the CVX code by navigating to ‘Settings’ module.
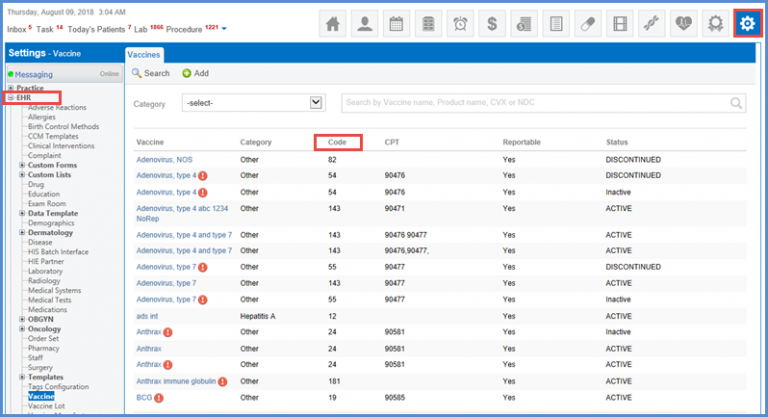
‘Product Type’, ‘Description’,’Unit Sales Price’, ‘Dispense Units’ and ‘NDC Number’ are mandatory fields.
The user cannot save the product if any of these are left empty.
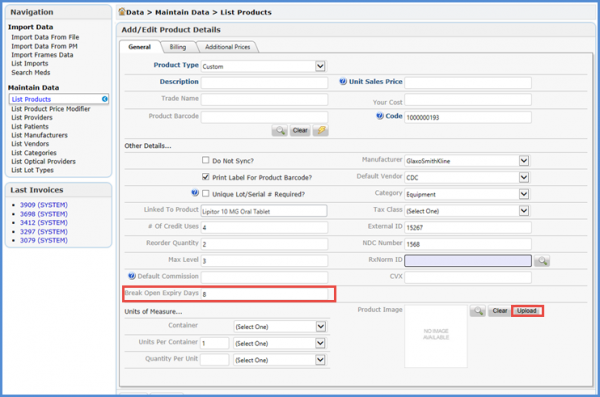
The number of days after which the medication will expire once opened can be specified in the ‘Break Open Days Expiration’ field. Moreover, the user can also upload an image of the item.
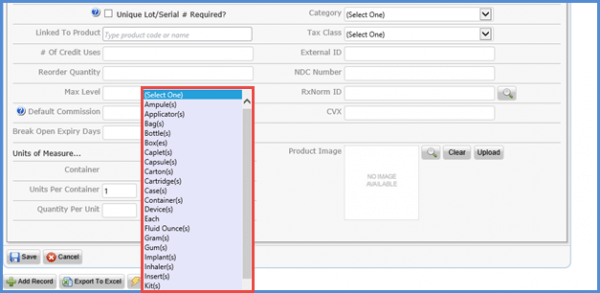
Moving further, the ‘Container field’ provides information about how the product is packed. It may be carton, capsules or any other.
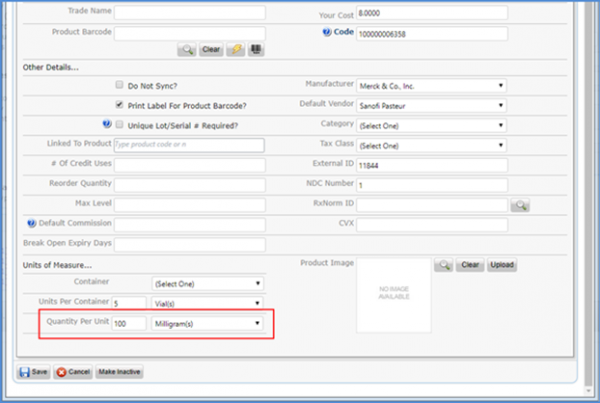
In addition, a field named ‘Quantity Per Unit’ has been added. From this window, the user can select the ‘Quantity Per Unit’ for the relevant product.
The ‘Quantity Per Unit’ field appears whether the product is added via scanning the barcode or selecting a lot number from the selection popup.
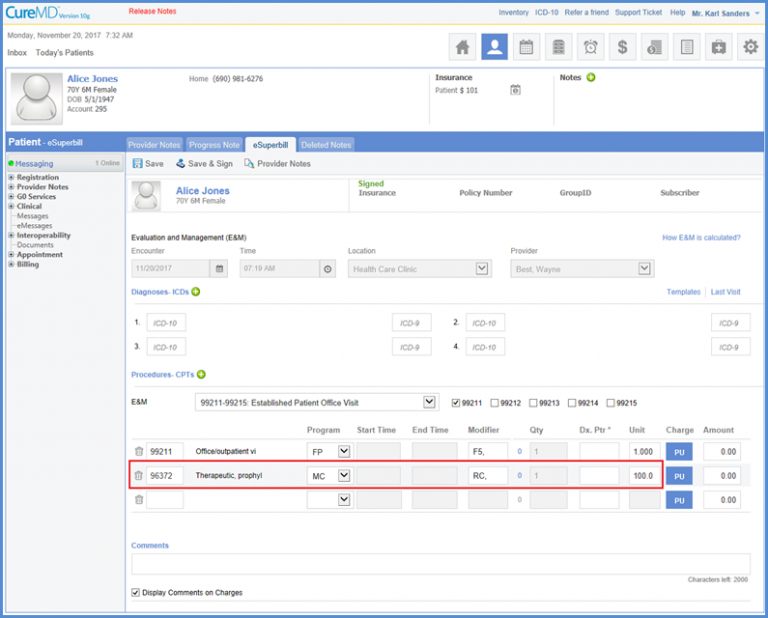
The value received in ‘Quantity Per Unit’ field auto-populates in the ‘Units’ field against the product’s procedure code when the user proceeds to create eSuperbill. However, no data is displayed if an incorrect procedure code is entered.
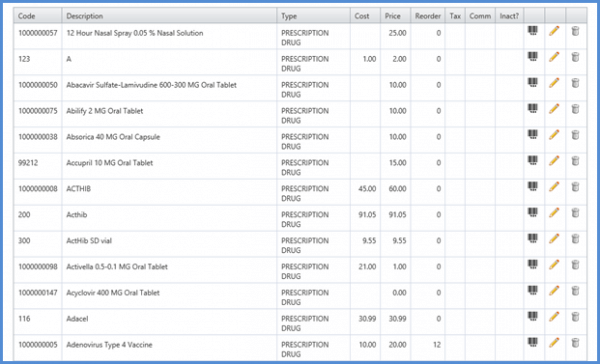
The user can then click on the ‘Save’ button. After a product is saved, it is displayed in the list of products.
Moreover, the application also allows the user to post draft invoices from CureMD to ‘Inventory’ module. To see how it’s done, please click here.
