How to Search for an eSuperbill?
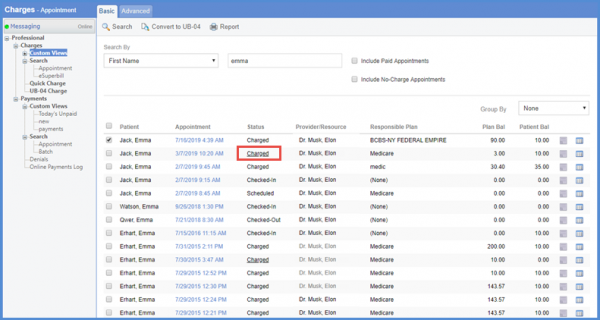
Users can search for an eSuperbill using Basic or Advanced search methods. Navigate to ‘Basic’ Search page by following the above mentioned workflow.
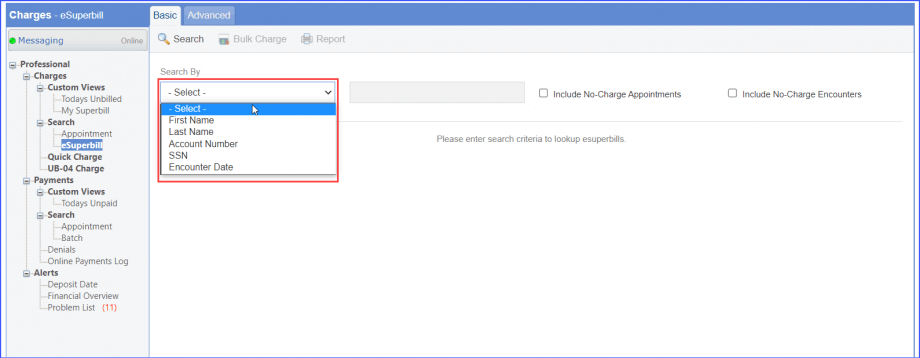
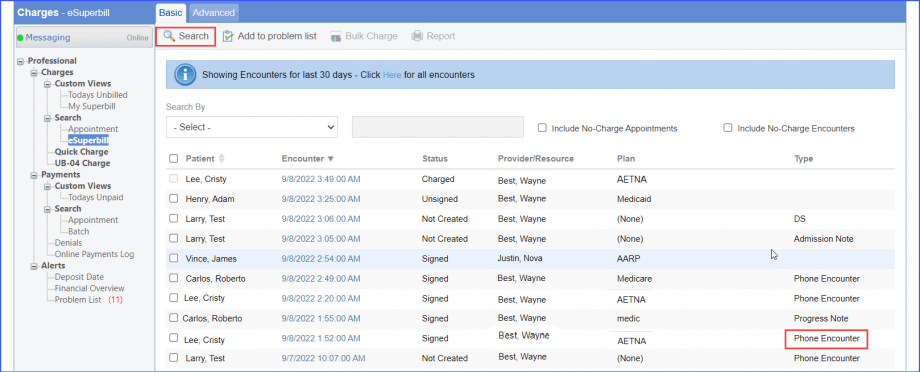
Here, eSuperbill can be searched using the ‘Search By’ drop-down. Select the search criteria from the dropdown.
Click ‘Search’ button to see the list of relevant eSuperbills.
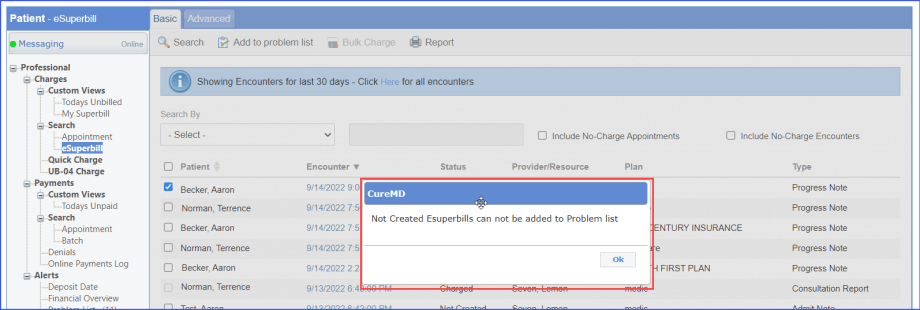
Users can also add an eSuperbill/Charge to problem list. Select an eSuperbill with status ‘Signed’, ‘Unsigned’ or ‘Charged’ by marking the checkbox against it. The, click the ‘Add to Problem List’ button.
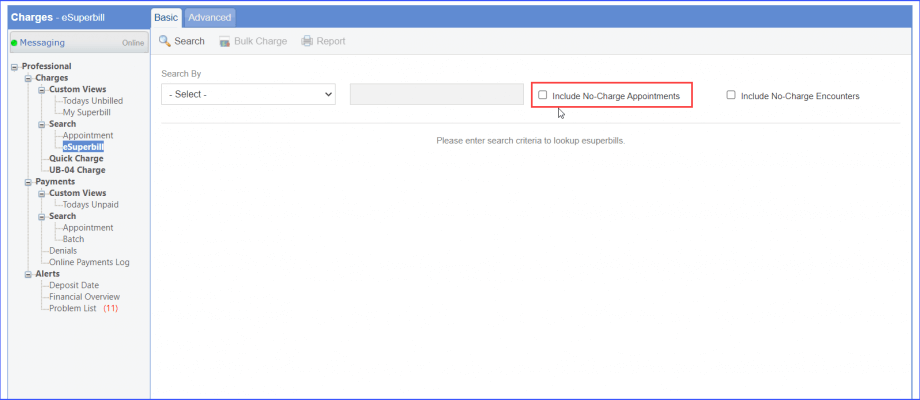
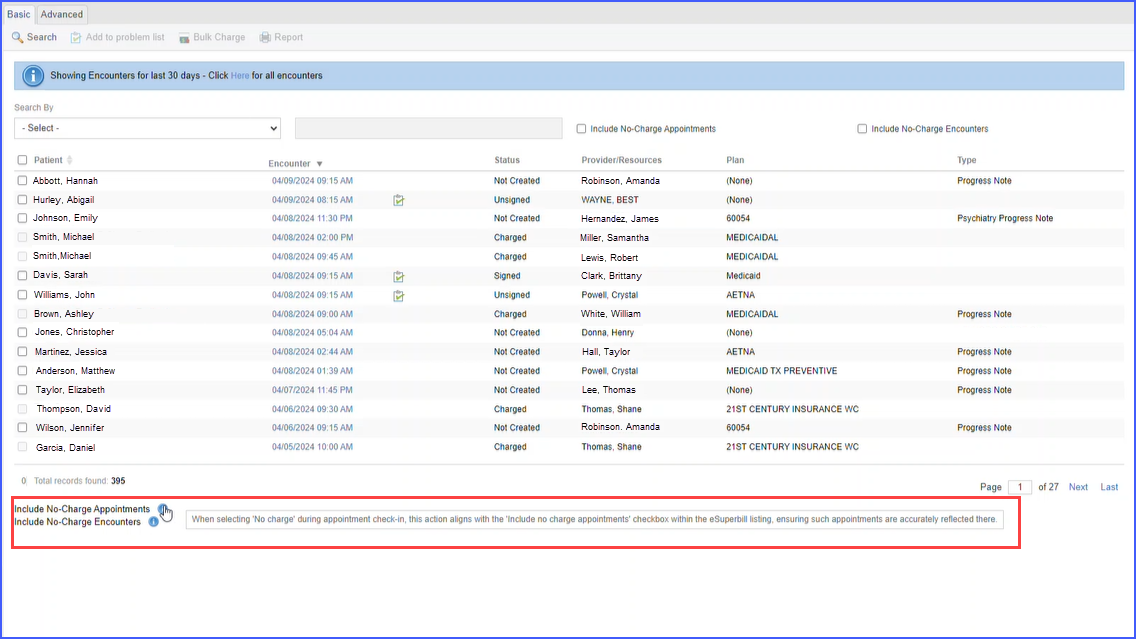
Moreover, users can choose to include no charge appointments in the search results list by marking the ‘Include No-Charge Appointments’ checkbox.
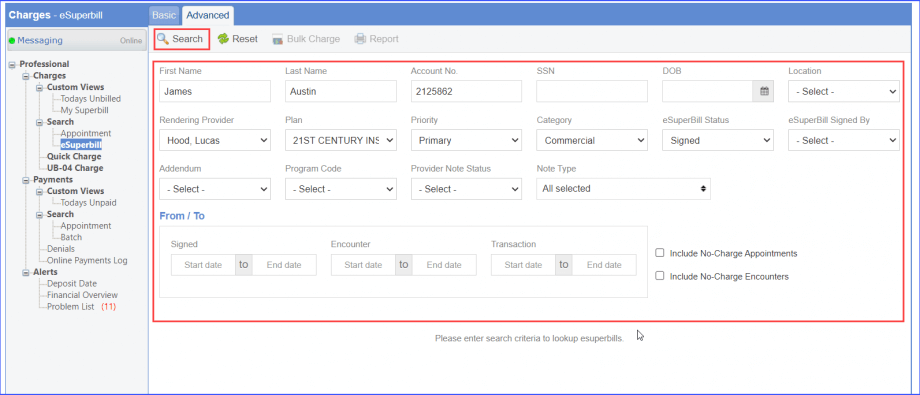
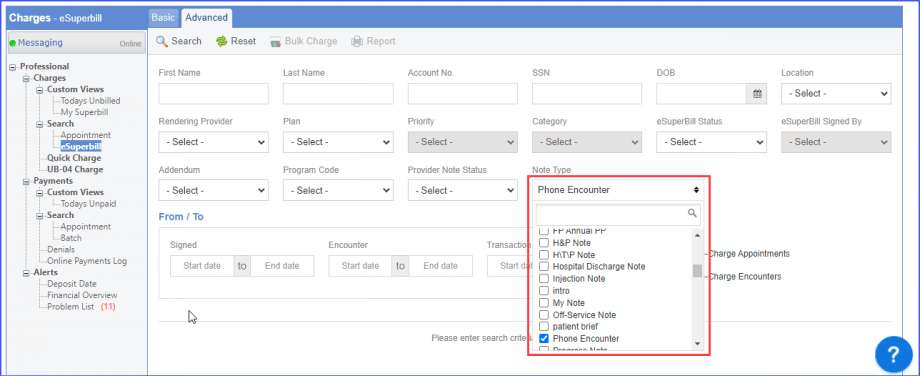
Users can also search for required eSuperbills by navigating to ‘Advanced’ search for more comprehensive results.
Multiple eSuperbill note types can be searched simultaneously with a single search criterion. Here, the multi-select ‘Note Type’ drop-down can be used to mark multiple eSuperbill note types.
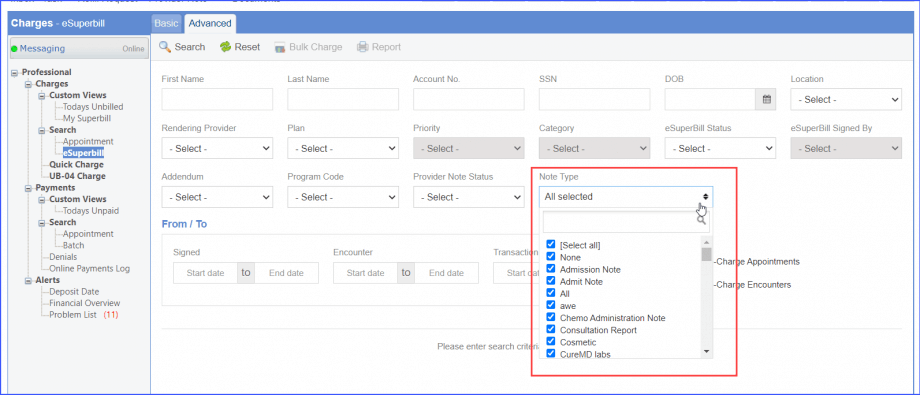
Once the required criteria is selected, the user proceeds to click ‘Search’.
The Last Visit “![]() ” button can be used to choose whether to merge or replace ICD, CPT, Dx Pointer information of the eSuperbill from the Provider note.
” button can be used to choose whether to merge or replace ICD, CPT, Dx Pointer information of the eSuperbill from the Provider note.
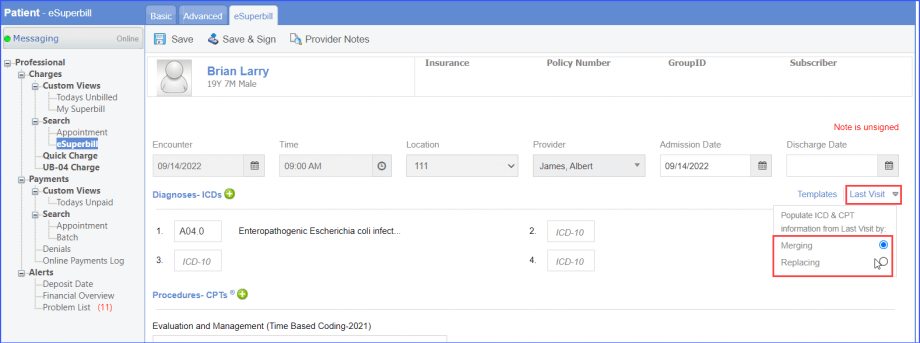
The ‘Merging’ option combines the information retrieved from the Provider Note with the Last Visit’s data.
Information from the provider note is removed upon selection of ‘replacing’ option. Only the Last Visit’s data is displayed.
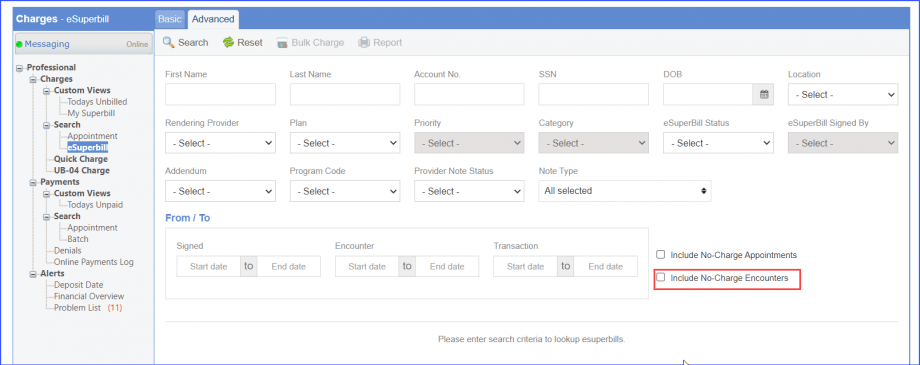
User can view all no-charge encounters along with regular encounters in the eSuperbill tab.
Mark the checkbox ‘Include No-Charge Encounters’ in ‘Basic’ search.
A similar checkbox is displayed in the ‘Advanced’ search tab.
Additionally, users can choose to add custom view with ‘No-Charge Encounters’ included. To learn how to do this, click here.
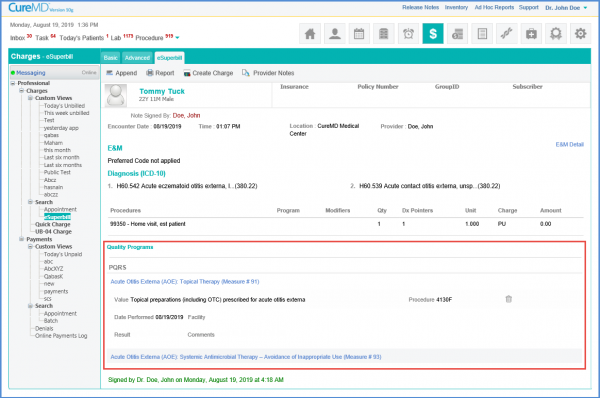
Users can edit a previously filled Quality Programs (PQRS/ASCQR) Questionnaire on a signed eSuperbill. This can be done by selecting a signed eSuperbill from the search results and then navigating to the ‘Quality Program’ section.
Phone encounters note type has been added in the eSuperbill search listing. This allows users to keep track of phone encounters and get reimbursements for these visits.
On the ‘Basic’ tab of eSuperbill node, when the user clicks on the ‘Search’ button, the system displays all encounters in the listing including the phone encounters.
Meanwhile, on the ‘Advanced’ tab, the option of ‘Phone Encounter’ has been added in the ‘Note Type’ dropdown.
Click here to view a similar change made on ‘Add Custom View’ List page.
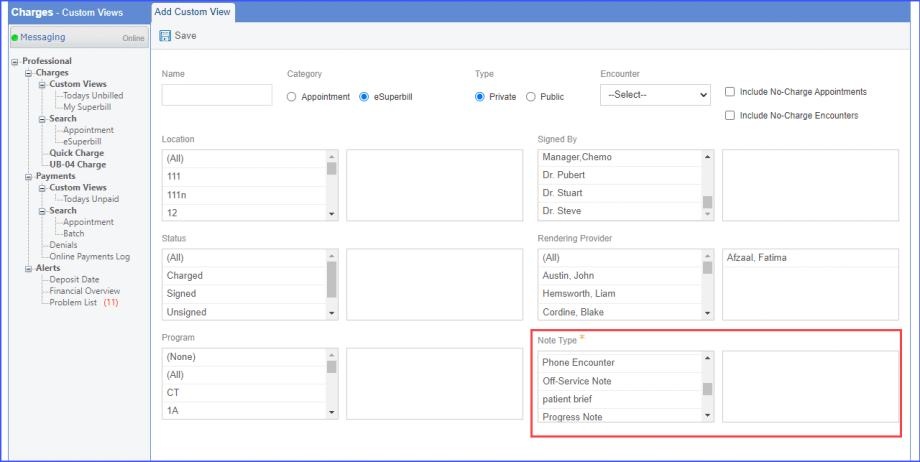
‘Phone Encounter’ option has been added in the ‘Note Type’ dropdown for users to create a custom view for eSuperbill.
For both ‘Basic’ and ‘Advanced’ tabs, the bottom of the screen features labels with accompanying informational icons.
When users hover over or click on this info icon, a detailed tooltip appears. This tooltip provides information about the functionalities present on the screen and offers guidance on how to use them effectively.
These labels are available under all search categories.
