How to Use Date as an Input in Custom Forms?
Date Control Type
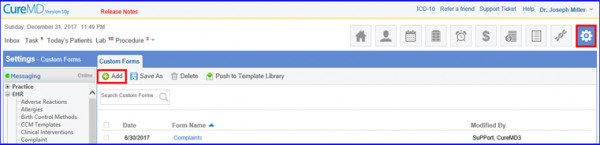
Follow the workflow above to land on the ‘Custom Forms’ screen.
Click on the add button to create a new custom form.
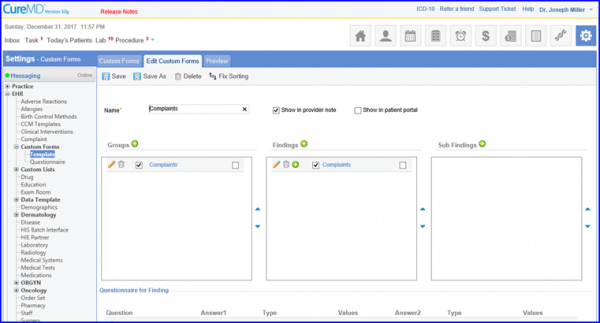
Select appropriate Groups and Findings. Follow this step by adding a questionnaire.
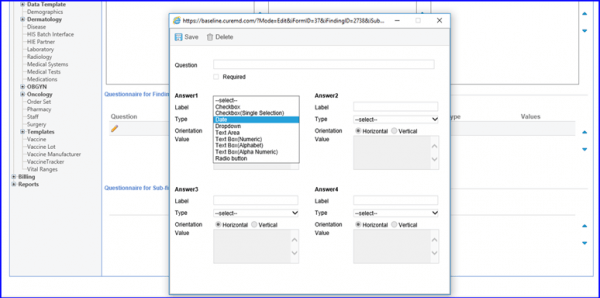
Edit the questionnaire and select Date as its Type.
Switch the tab to Preview from Edit Custom Form.
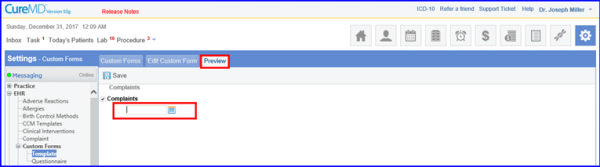
Clicking on the calendar icon prompts the system to display a date calendar. Navigate through this calendar and choose an appropriate date. Once a date is selected, the system stores it in an input field with a standard date format of MM/DD/YYYY.
Textbox Validations:
1. Range
To take an input value within the given range, open a custom form and select the ‘Textbox (Numeric)’ control from the ‘Type’ dropdown. Specify two values, Min and Max to setup the range of input values.
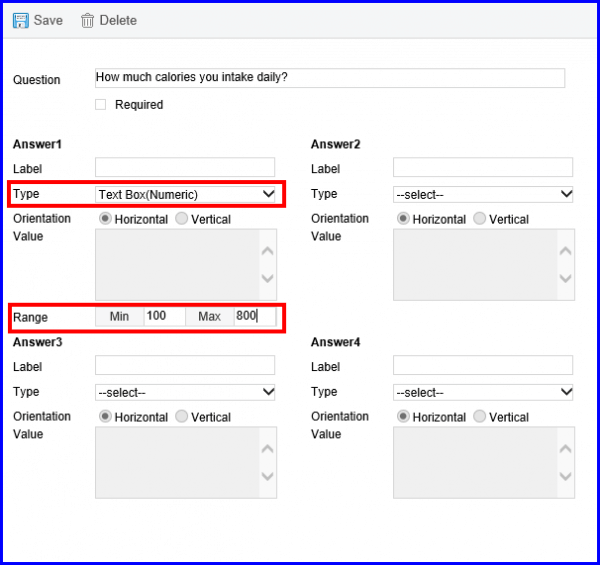
Save the question once the range has been defined. Switch the tabs to preview the custom forms. The entered range can be seen in the bubble tool-tip.
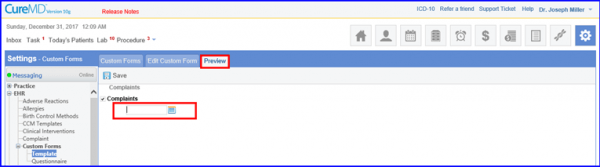
If a range has not been defined, the system takes in all numeric inputs.
2. Text box (Alpha-numeric)
Select Text box (Alpha-Numeric) from the type drop-down to take-in alphabet, numeric and characters input without any restriction.
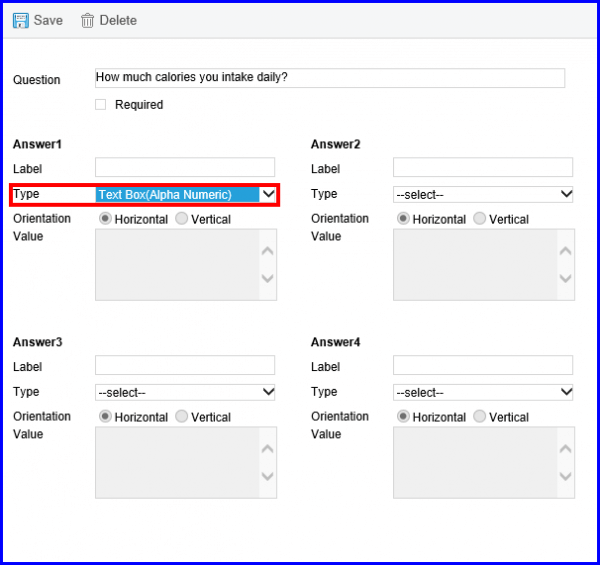
Switch the tab to preview custom forms.
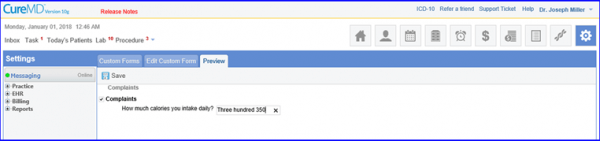
3. Text box (Alphabet)
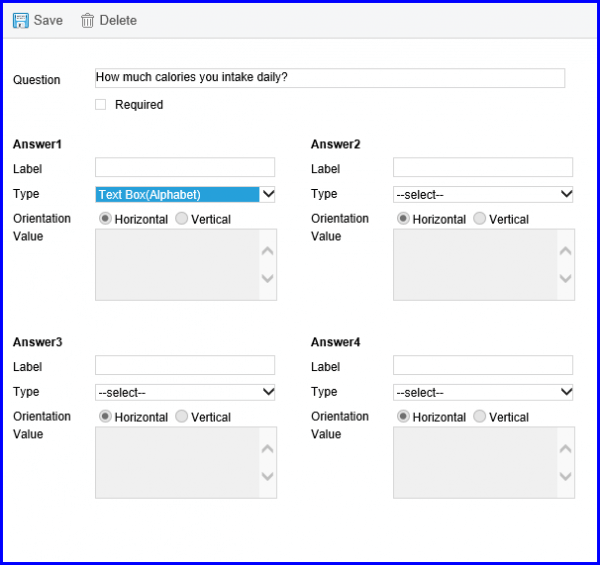
Select Text box (Alphabet) from the type drop down to take-in only alphabets as an input.