How to Attach a File to a Charge?
To attach any file to a charge for reference, navigate to “Add/Edit Charges” page by following the above mentioned workflow.
Here, user can attach a file either by using ‘Claims Attachment’ option or ‘General Attachment’ option.
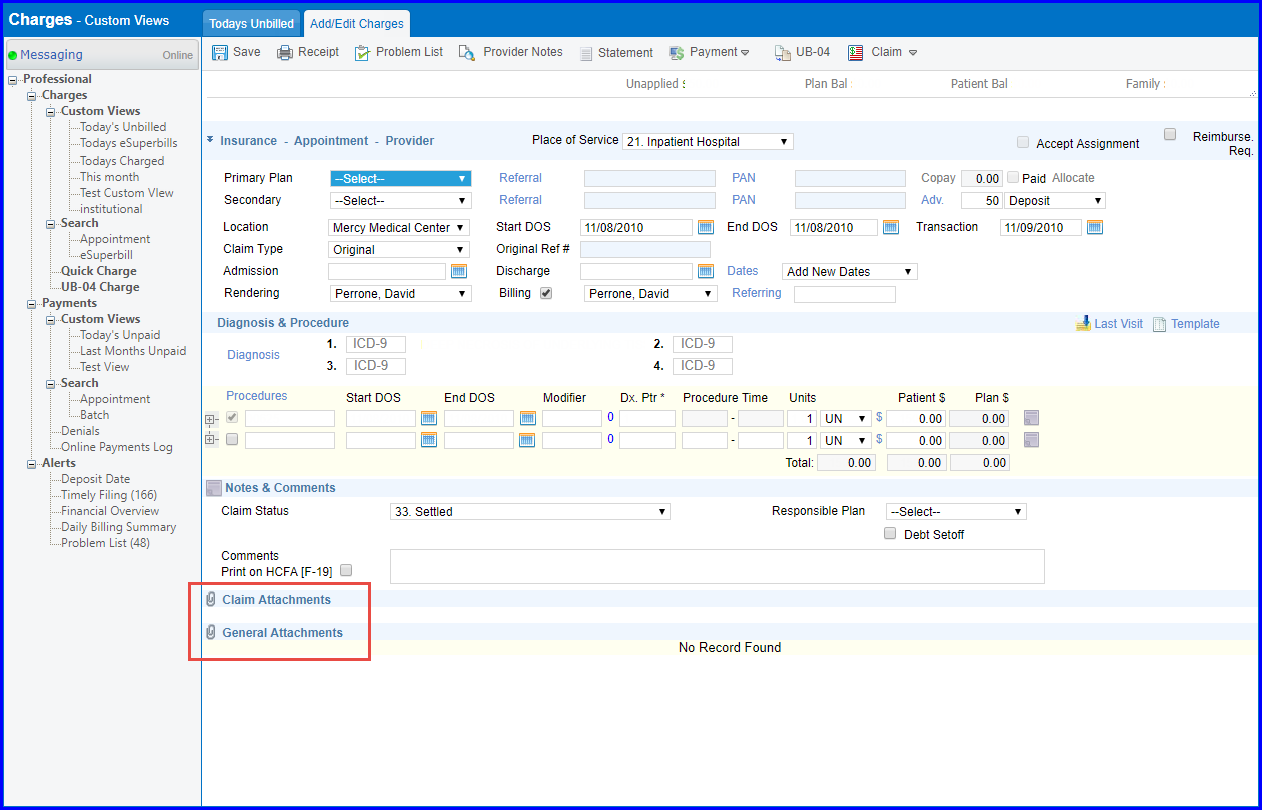
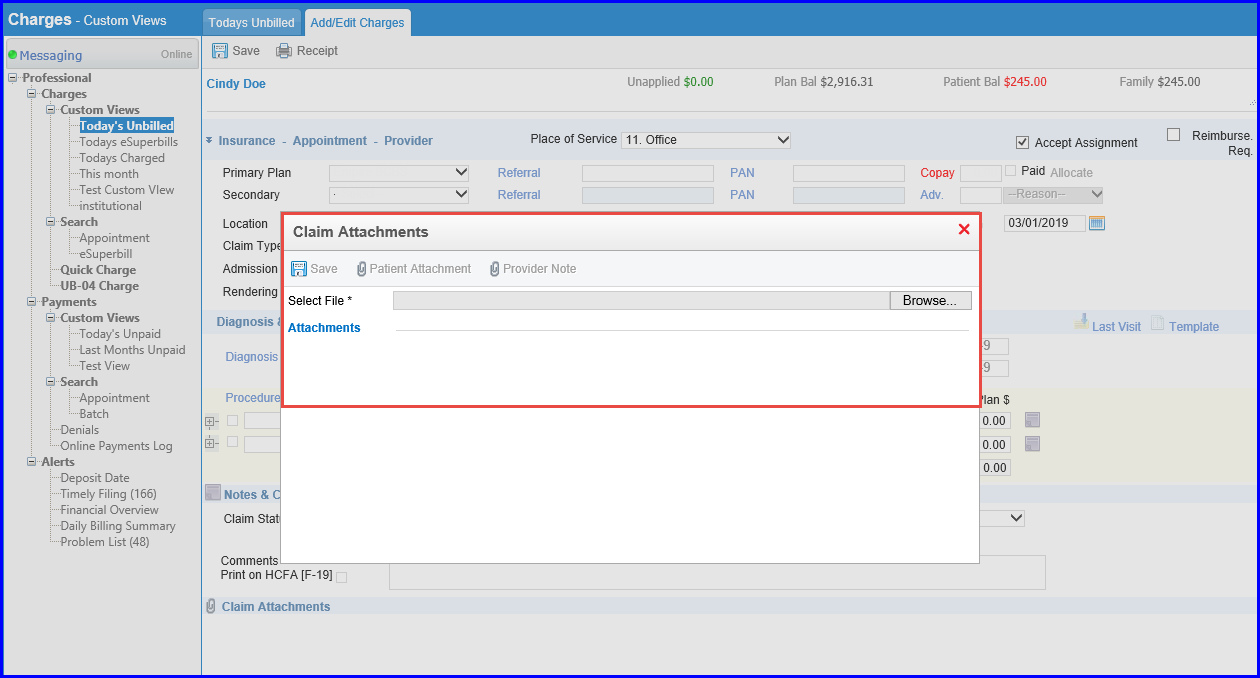
Click on  option on claims attachment to view ‘Claims Management’ pop-up. Here, user can upload patient attachments, provider notes or browse file from the system.
User can upload or scan a file in ‘General Attachments’ by clicking option.

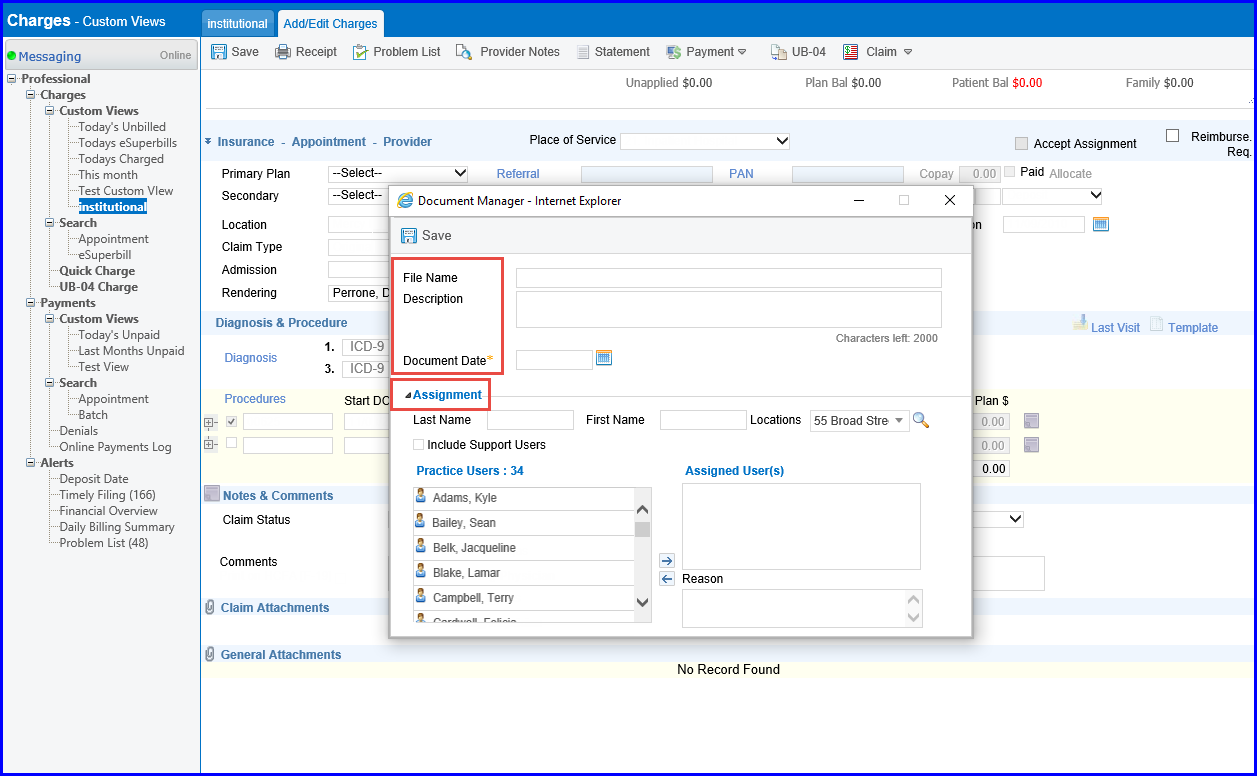
Clicking ‘Upload’ opens ‘Document Manager’ pop-up. Here, user can browse a file to upload, and select a user to assign the file to.
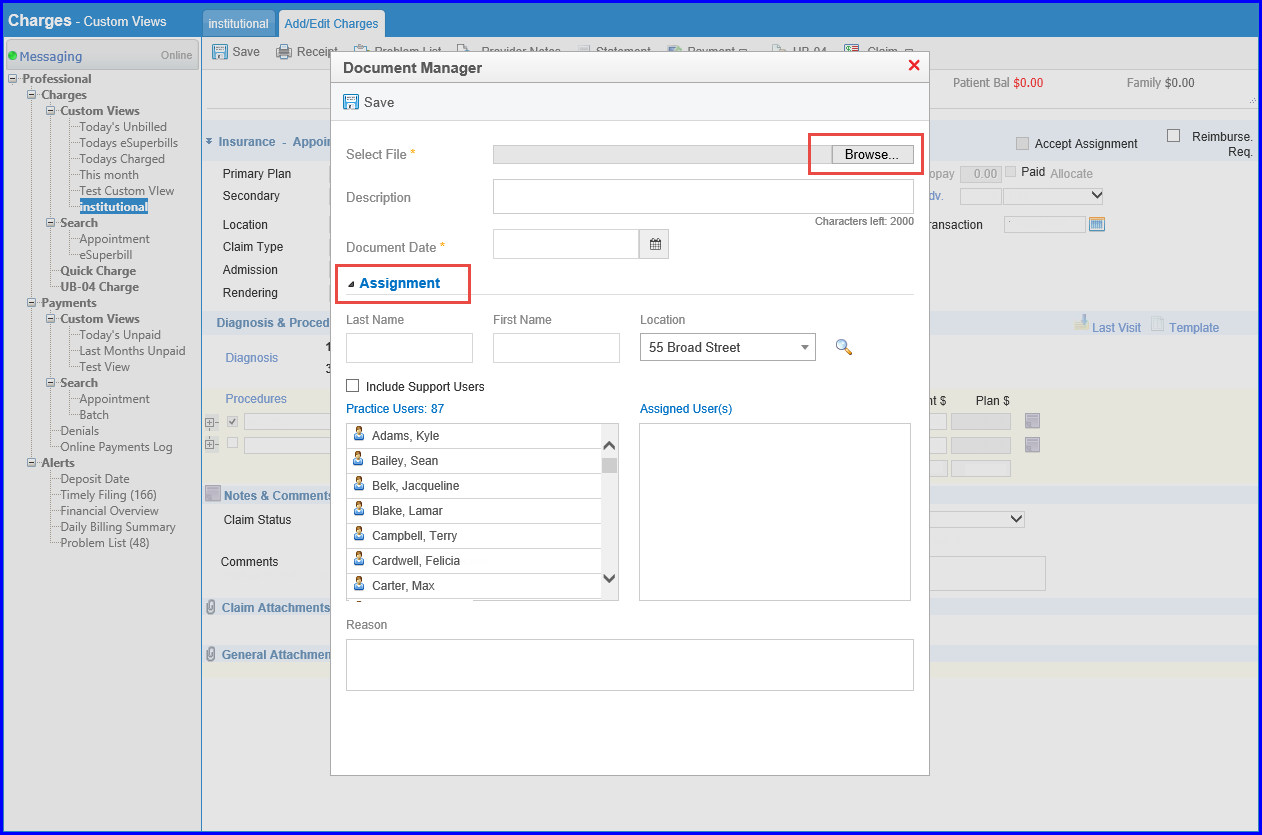
Clicking ‘Scan’ opens ‘Document Manager’ window. Here, once file is scanned, user can enter file name, description, document date, and assign file to a user. Then user clicks save to upload document.
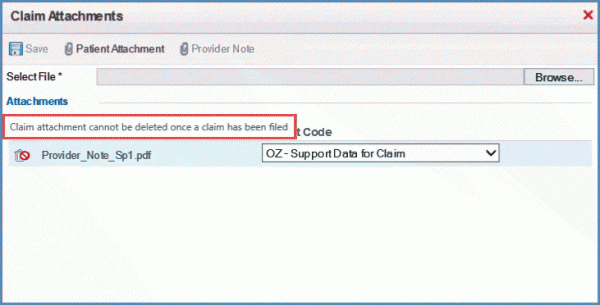
Once a charge has been filed, system does not allow users to delete the claim attachments. 
Navigate to the Claim Attachments popup to view the uploaded file. The delete Icon is disabled and a help text “Claim attachment can not be deleted once a claim has been filed” appears after claim has been filed.